One word to describe the trip: Breathtaking
Let’s start by saying that the Salkantay Trek is the craziest and most incredible experience we’ve had on our world travel adventure so far. From the decision-making process, friendships formed, breathtaking views, and empowering moments, this was truly a once-in-a-lifetime experience!
Before sharing all of the details, it’s important to note that you do not need to do Salkantay Trek or Inca Trail to reach Machu Picchu. These are adventurous ways to explore other parts of the region that lead to one of the seven wonders of the world. If you want to skip the trek and go straight to Machu Picchu, click here to book your entrance ticket to Machu Picchu only.
How We Decided to Trek Salkantay
When we planned our trip to South America, Peru was at the top of our list. We knew for sure we would visit Machu Picchu; we just had no idea yet how. We had heard about the famous Inca trail and later learned about the Salkantay trek. However, we were not sure if we would do it, given that we had never really hiked before.
We traveled to the west coast of Peru in early November, then slowly made our way to Cusco where we found a two-week ‘dog shelter’ volunteering opportunity. We quickly realized after arriving that the place was not as described (a story for another post) and had to figure out our next move way sooner than expected. The wonderful thing about volunteering was that we met a lot of travelers who had done or were thinking of doing the Salkantay trek. After talking to them, they reassured us that it was not as difficult as we had imagined and it did not require professional equipment or intense preparation.
Most backpackers we met along our journey recommended the Salkantay Trek because it is a more affordable and challenging hike. It is also easier to book last minute, whereas the Inca Trail is more expensive and requires planning ahead of time.
After just four days at the volunteer location, we booked the trek for the next available date, which happened to be two days from then. Our biggest win was that we were able to convince a friend we had just met while volunteering, to join us. She became our ‘adopted daughter’ and was an awesome addition to the group in the days to come.

How We Prepared for the Salkantay Trek
We knew it was essential to acclimate before going to Machu Picchu where the altitude is 2430m, especially when trekking. So, it was ideal that we had spent over a week in the Cusco region (3399m) before making our decision. During that time, we also took a day trip to Vinicunca, the Rainbow Mountains (5036m), which helped our bodies get used to the altitude and change of air. It was a “quick hike” which gave us an idea of what to expect if we decided to commit to the Salkantay Trek.
Click here to book day trips from Cusco!
What We Packed for the Salkantay Trek
Given that this was a “last-minute” decision, we were slightly underprepared. We only had two days before the hike to buy any additional items in Cusco, including sweatpants, jackets, thicker socks, ponchos, etc. This made the prep a bit more stressful and the hike slightly less comfortable, but nonetheless, unforgettable!
Here’s a list of a few essential items:
- Bags: You are only allowed to take two bags, one small duffel and one backpack.
- Duffel bag: The company provides a standard duffel to put your clothes, toiletries, extra shoes, etc. You only have access to the duffel bag once you arrive at the campsite each night because it is transported by the company and not kept with you during the day.
- Backpack: This is the only item you will carry with you throughout the entire hike, so it is important to make it comfortable and lightweight. Plan to pack only essentials, such as water, toilet paper, ponchos, jackets, electronics, snacks, and any medicine you may need during the day. These are the bags we took.
- Thais: 65L Osprey backpack, which was more comfortable but too big. I decided to take this instead of my small daypack because it helped with weight distribution, but it ended up being a bit heavy.
- Kelvyn: 20L cheap daypack, which was a good in size but uncomfortable due to low quality.
We highly recommend a good quality, lightweight daypack around 30L with hip straps. A lot of the experienced hikers carried these during the hike.
Keep in mind: Any additional bags you may be traveling with will have to be left at your hotel or the company’s main office in Cusco.
- Water Bottle: While you can take your own refillable water bottle, there are no refill stations. They sell bottled water in most stations and during every meal. We carried our own bottle with a built in filter in case, but purchased water bottles along the way to be safe. We recommend taking a backpack bladder to make it easier to carry and drink on the go.
- Proper Shoes: Most people wear hiking shoes; however, we only had running shoes. This worked well, except when they got soaked in the rain. We recommend hiking shoes, waterproof shoes, or taking an extra pair if it fits in your duffel so you don’t end up having to hike with wet shoes for a day like we did.
- Proper Clothes: We bought last-minute jackets and sweats that were great, except in the rain. The disposable ponchos were helpful, but they weren’t enough to keep us fully dry. We recommend having a rain jacket and waterproof pants if you want to fully prepare for rainy days.
- Electronics: We took our phone, power bank, drone, camera, and GoPro. Though they weighed our backpacks down, it was worth it for the amazing shots we were able to capture. if your goal is not to create content, only carry essential electronics.
- Hiking Sticks: We called them the “magic sticks”, they made everything so much easier. Most companies offer them as an add-on to rent; we highly recommend it.
Important Things to Keep in mind
- Altitude: If possible, take a few days to acclimate prior to your hike.
- Purchase altitude medicine to be safe.
- Coca leaf tea is also offered throughout the hike in case it is something you want to try for acclimation support.
- Do small day trips to places like Ollantaytambo (2792m), The Rainbow Mountains (5036m) , and other nearby regions.
- Hydration and Rest: Hydrate and rest well before your trip! You will exert a lot of energy on the hikes, so it’s important to go into it well rested.
- Facilities: This is not a luxurious trip; do not expect high-quality stays or facilities.
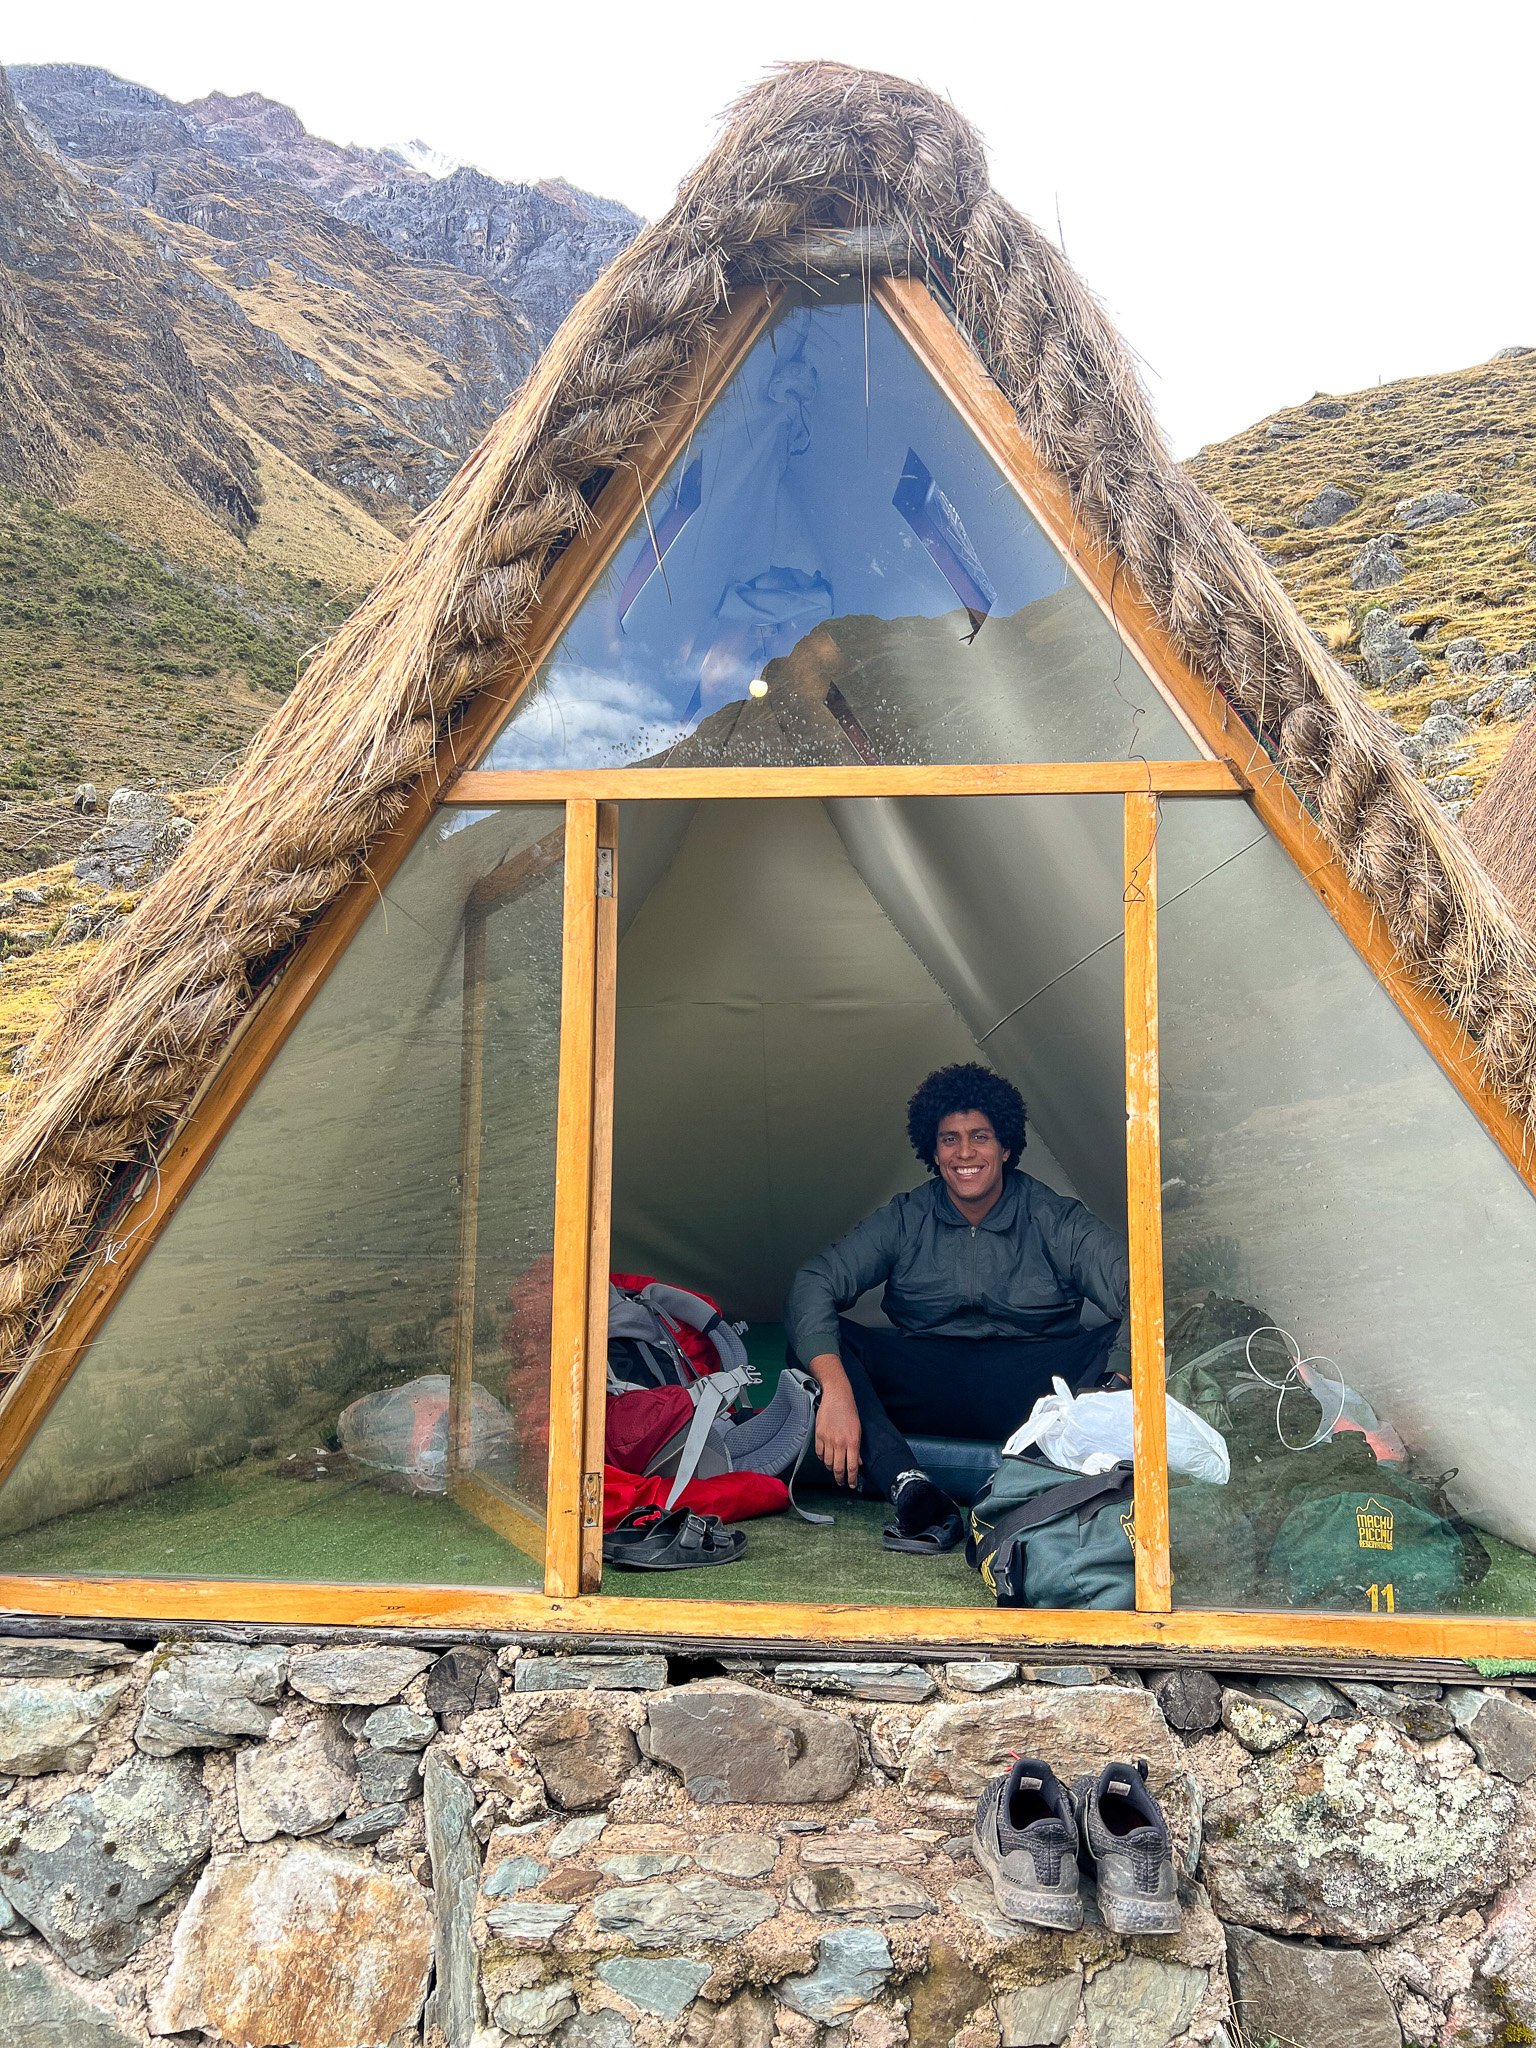
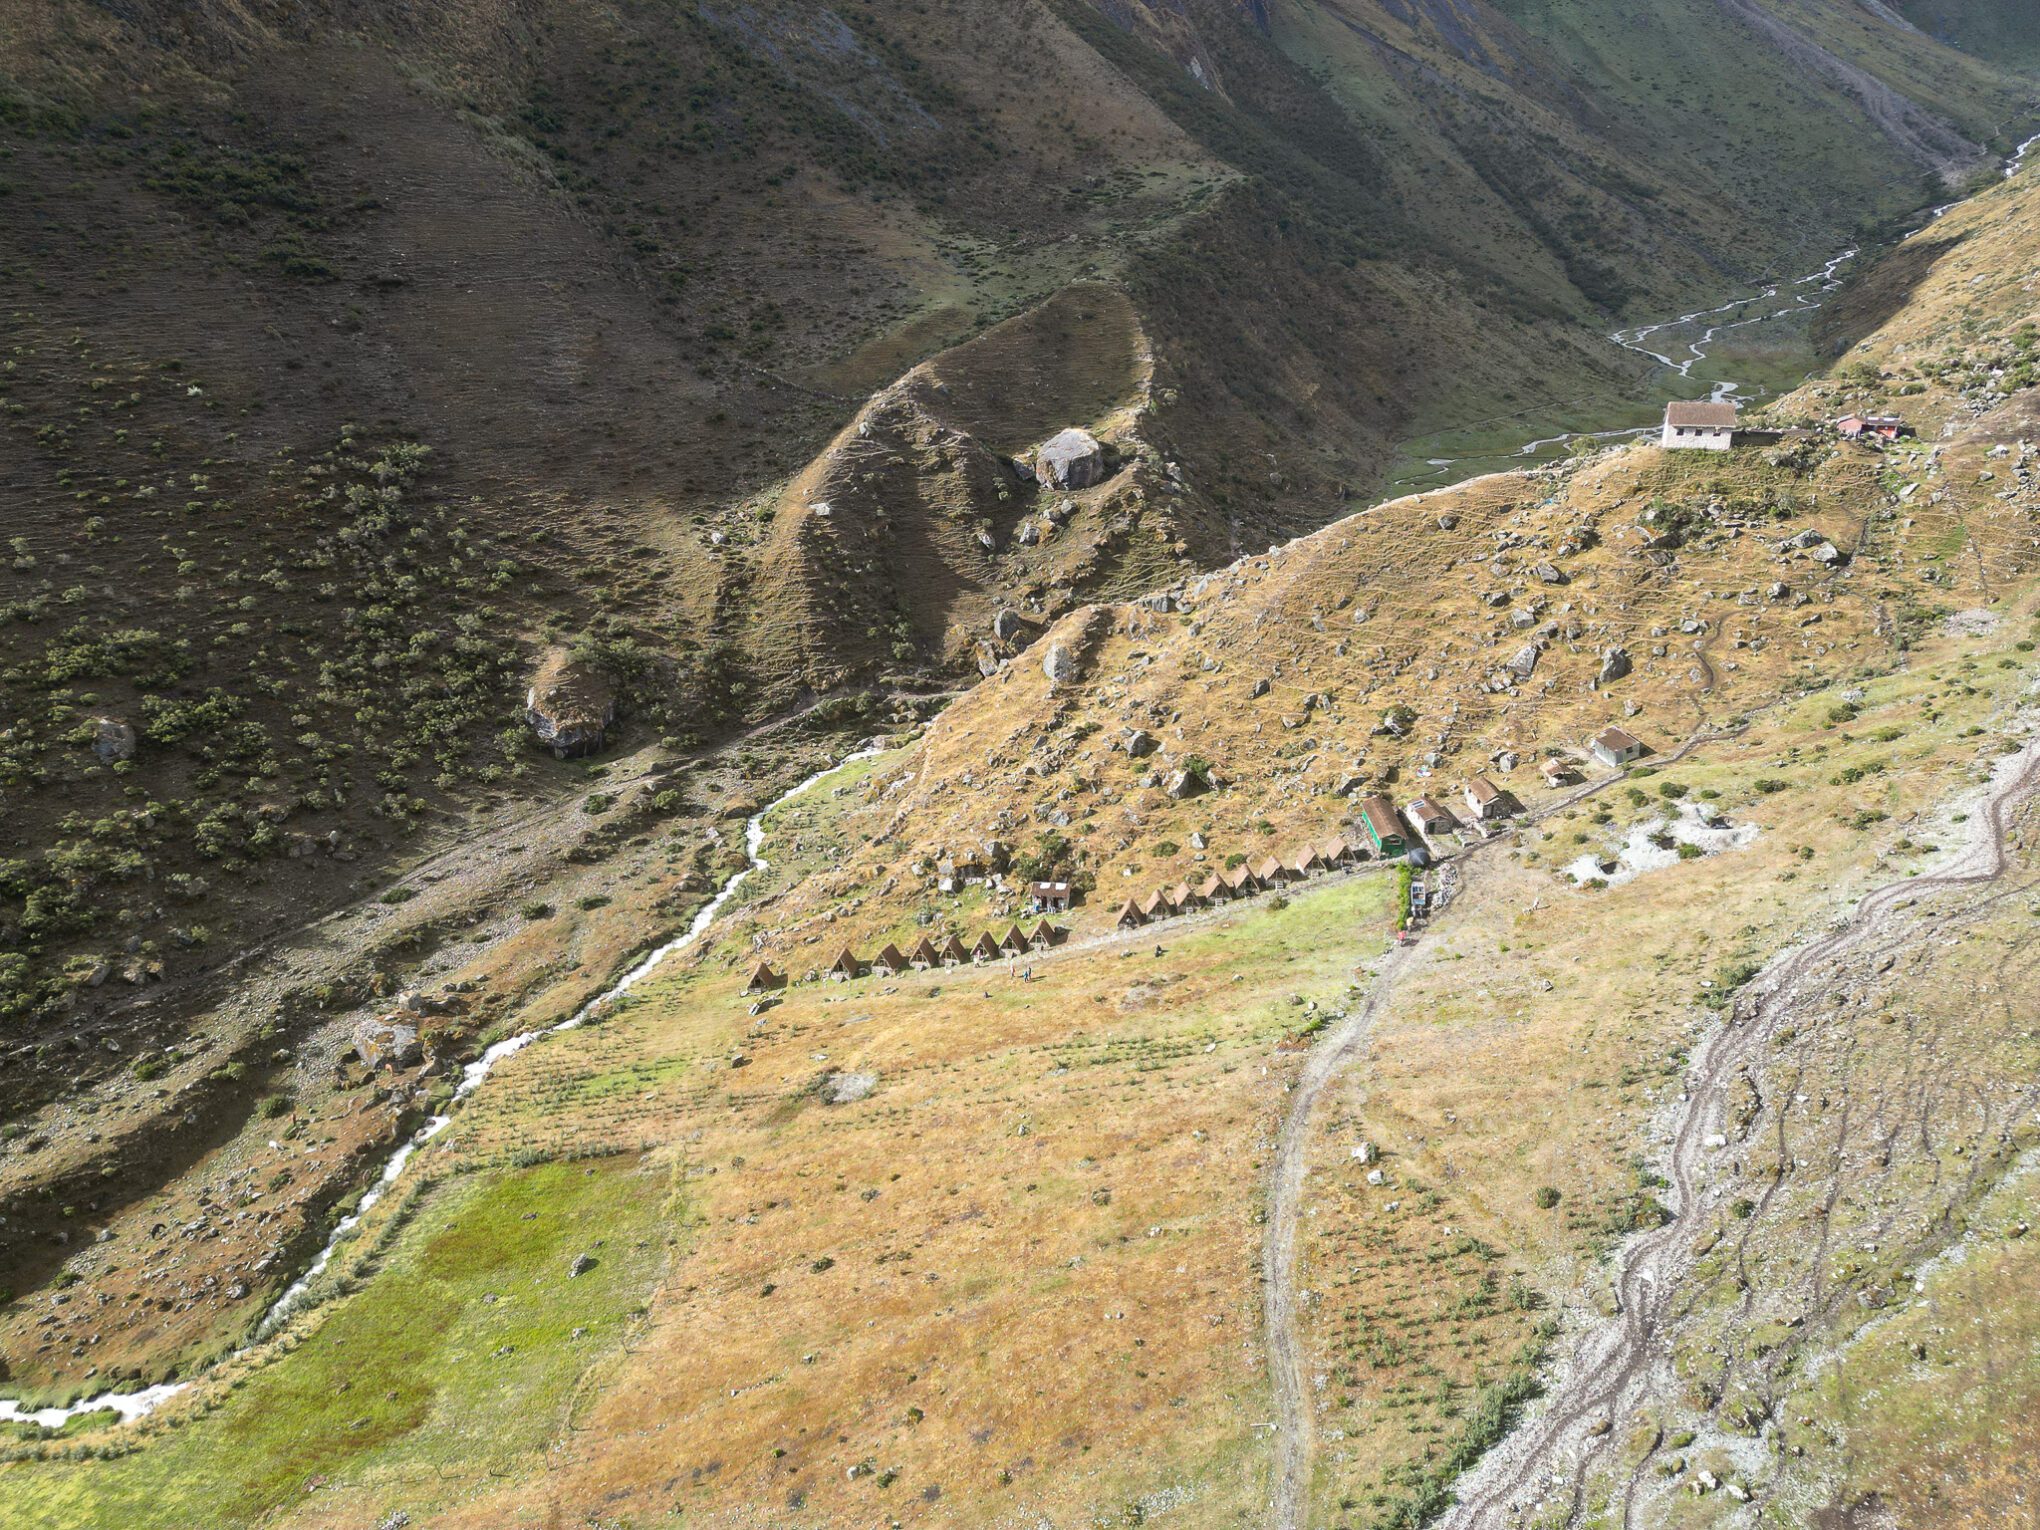
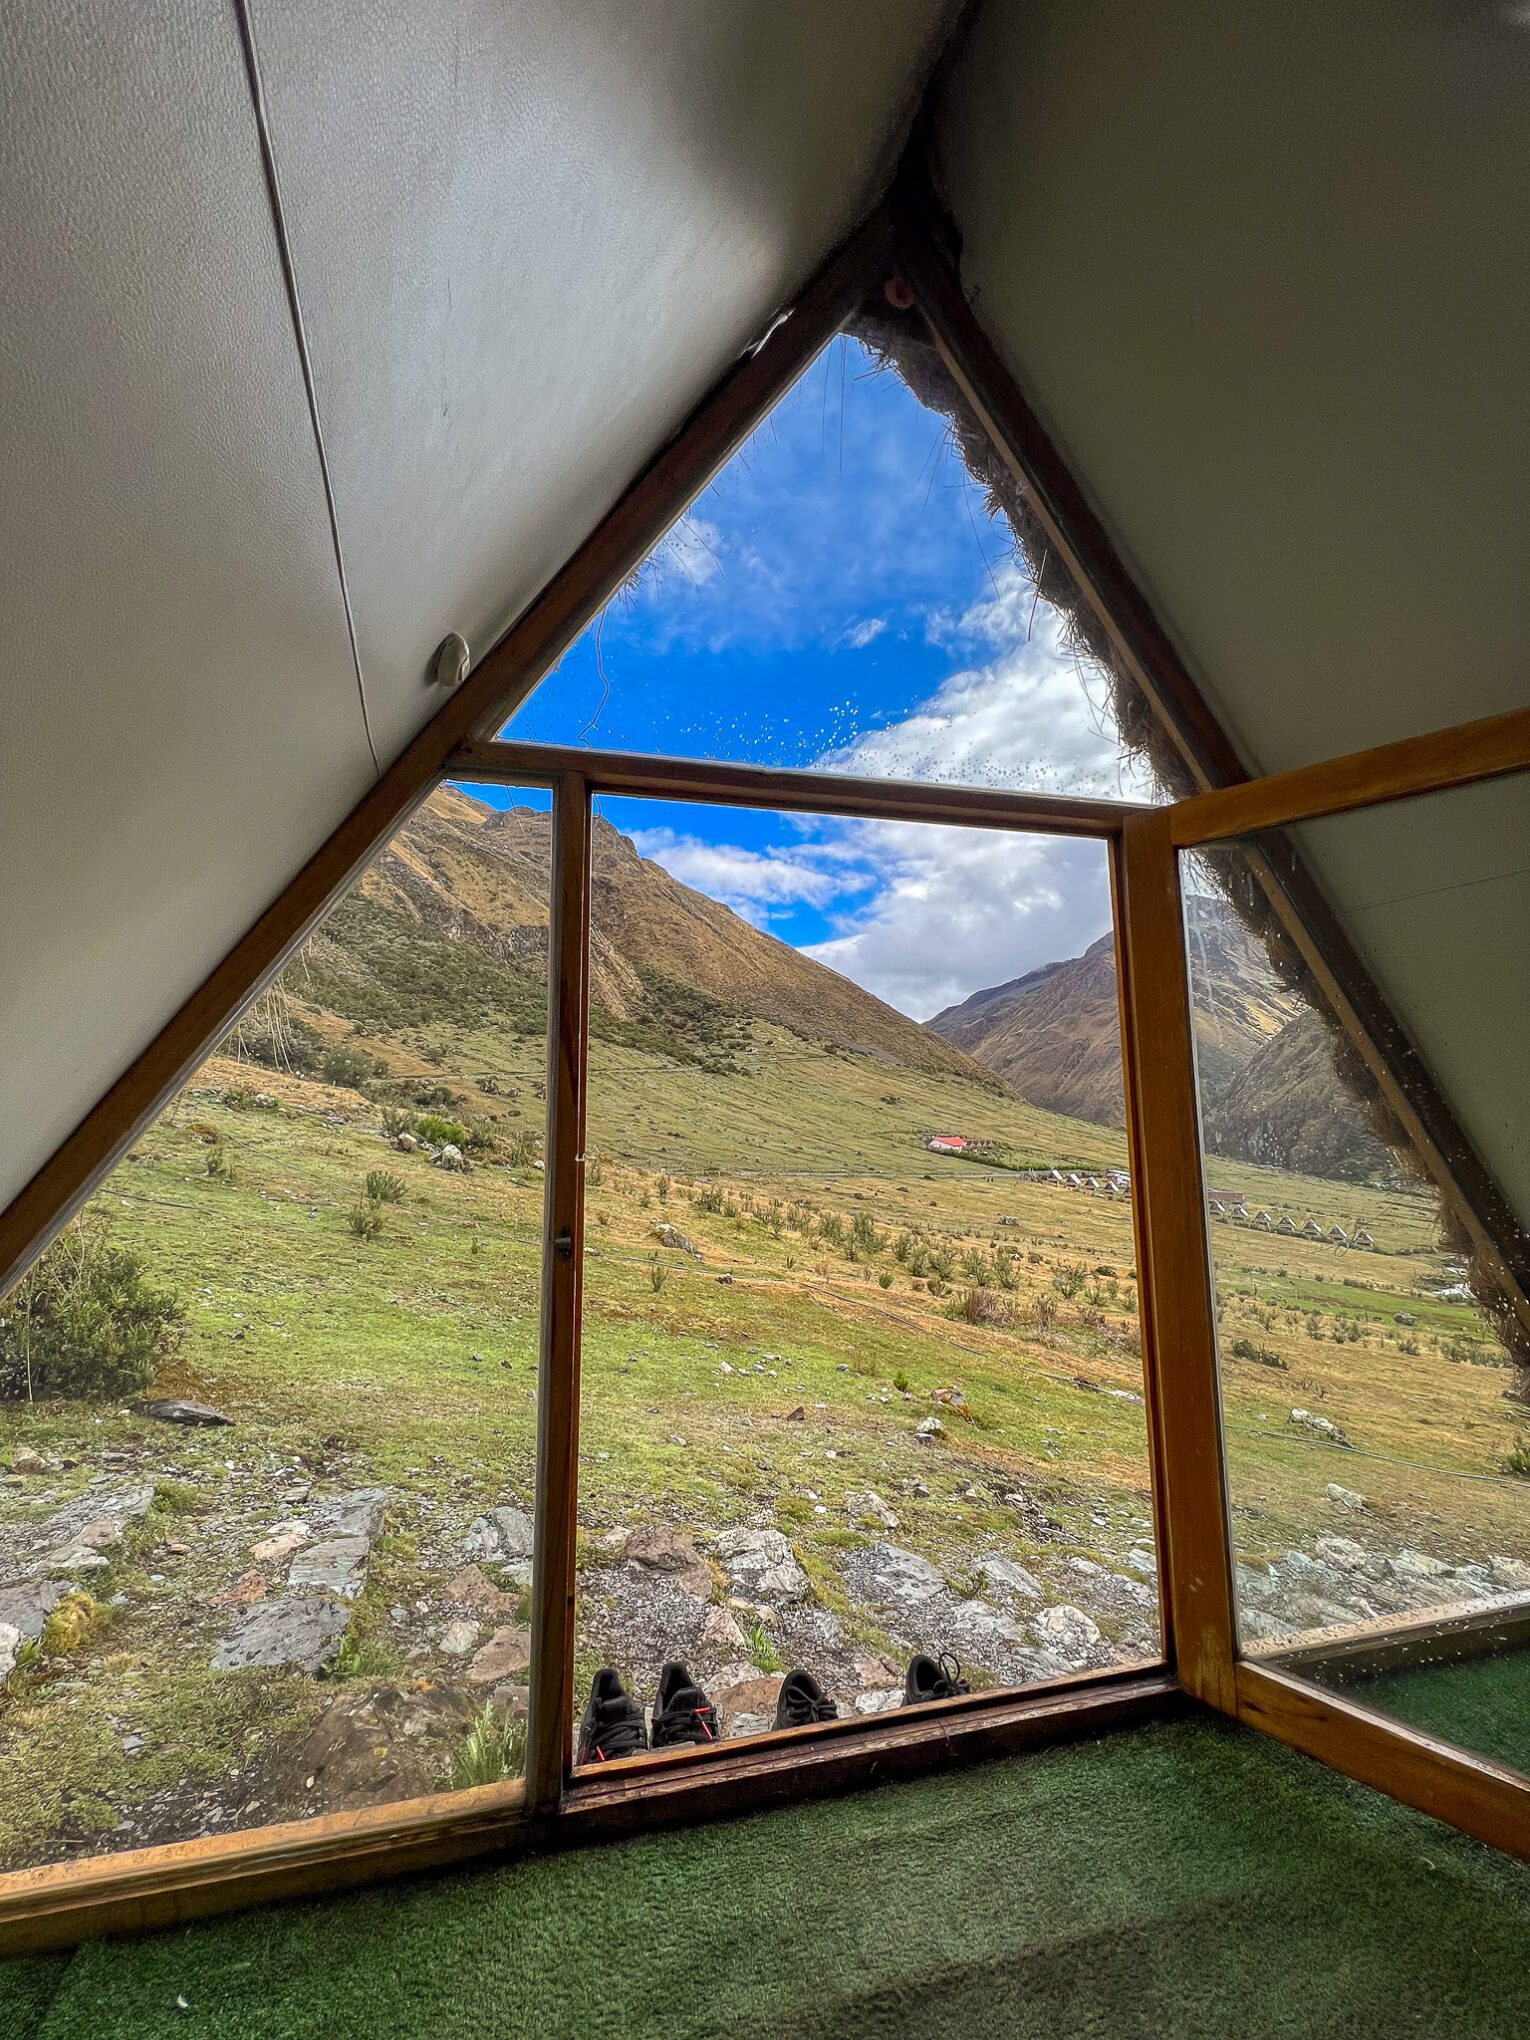
- Be prepared to sleep in sleeping bags, tents, and small cabins along the way.
- Electricity: Electricity is not available at every campsite, so take power banks and be prepared for moments or days when you will be off the grid.
- Showers: Showers are not available every day, and when they are available, you will have to pay extra for hot water.
- Water: You will need to purchase water throughout the hike, it is not provided at campsites for free.
- Weather Conditions: Depending on the season, you may experience hot, cold, and/or rainy days. Prepare and pack accordingly.
- Clothes: You will need layers! The climate changes rapidly within the same day. It’s important to be able to layer up or down depending on conditions.
- If you are in Cusco a few days ahead of time, you’ll have time to shop for inexpensive warm clothes for your trip.
- Sandals: They will come in handy for showers and moments when you are not hiking.
- Pack Light: You can take a duffel bag that is transported by the staff and carry a light daypack. We recommend keeping it small and of good quality so you don’t feel the weight as you hike each day.
Daily Breakdown of Activities
Each day was unique and full of adventure. For the purpose of keeping it short, we highlight the main activities for each day below.
Day 1
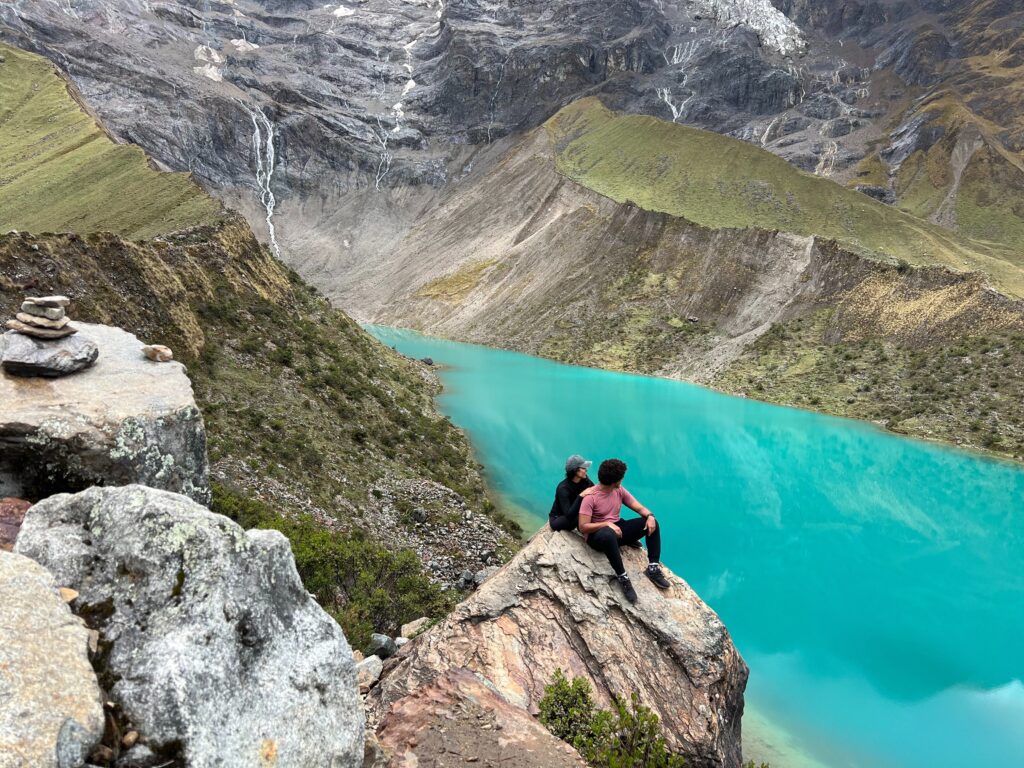
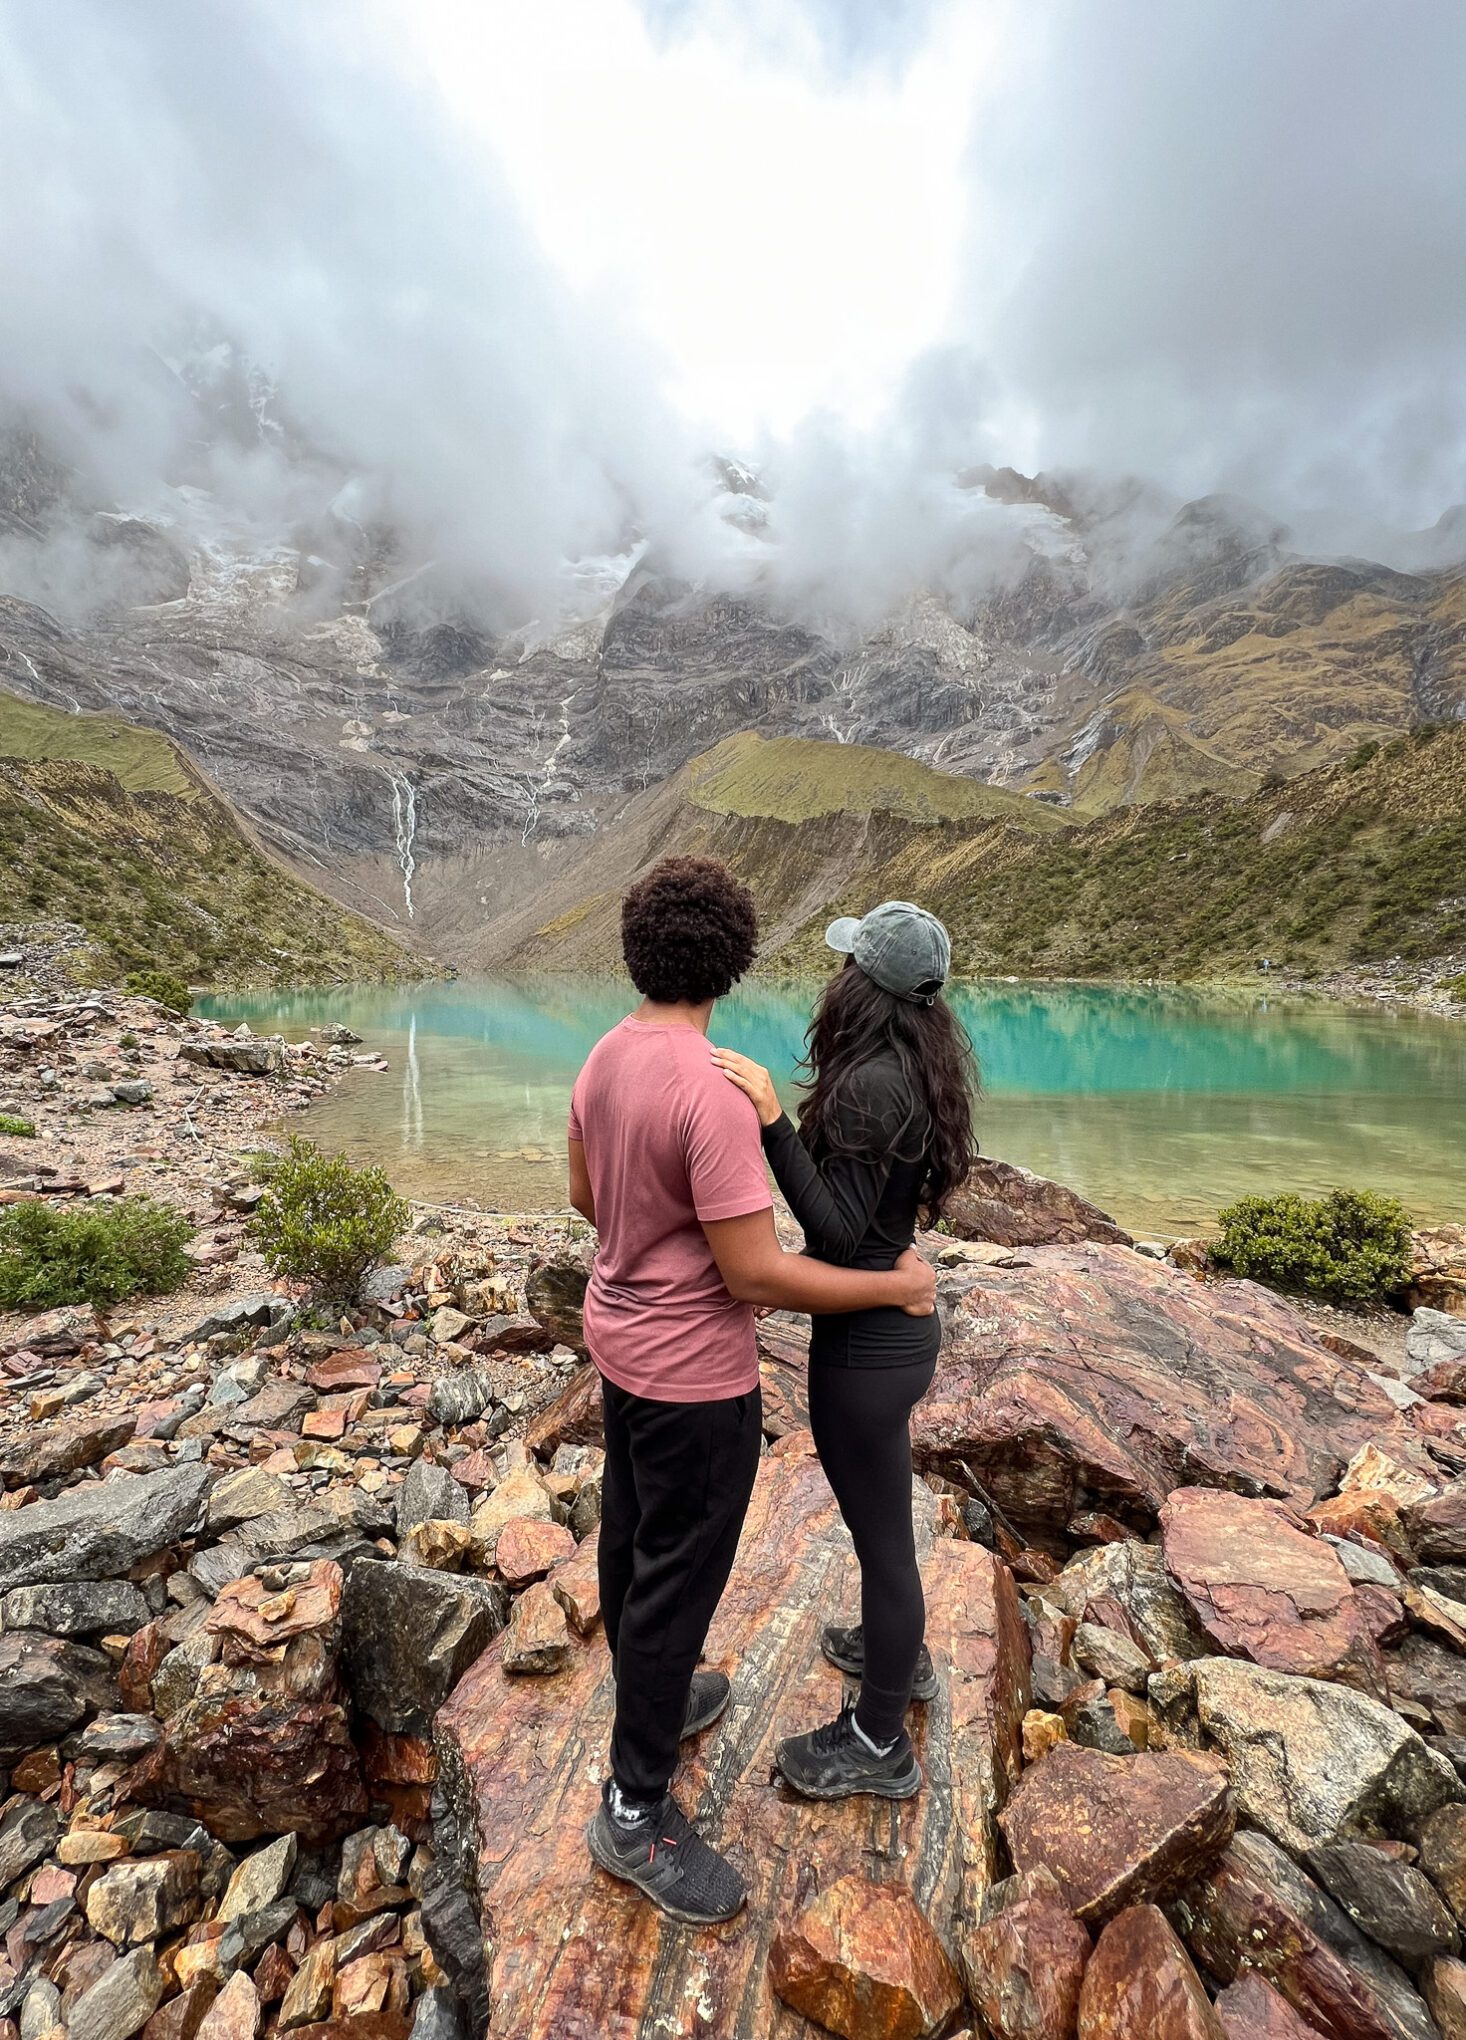
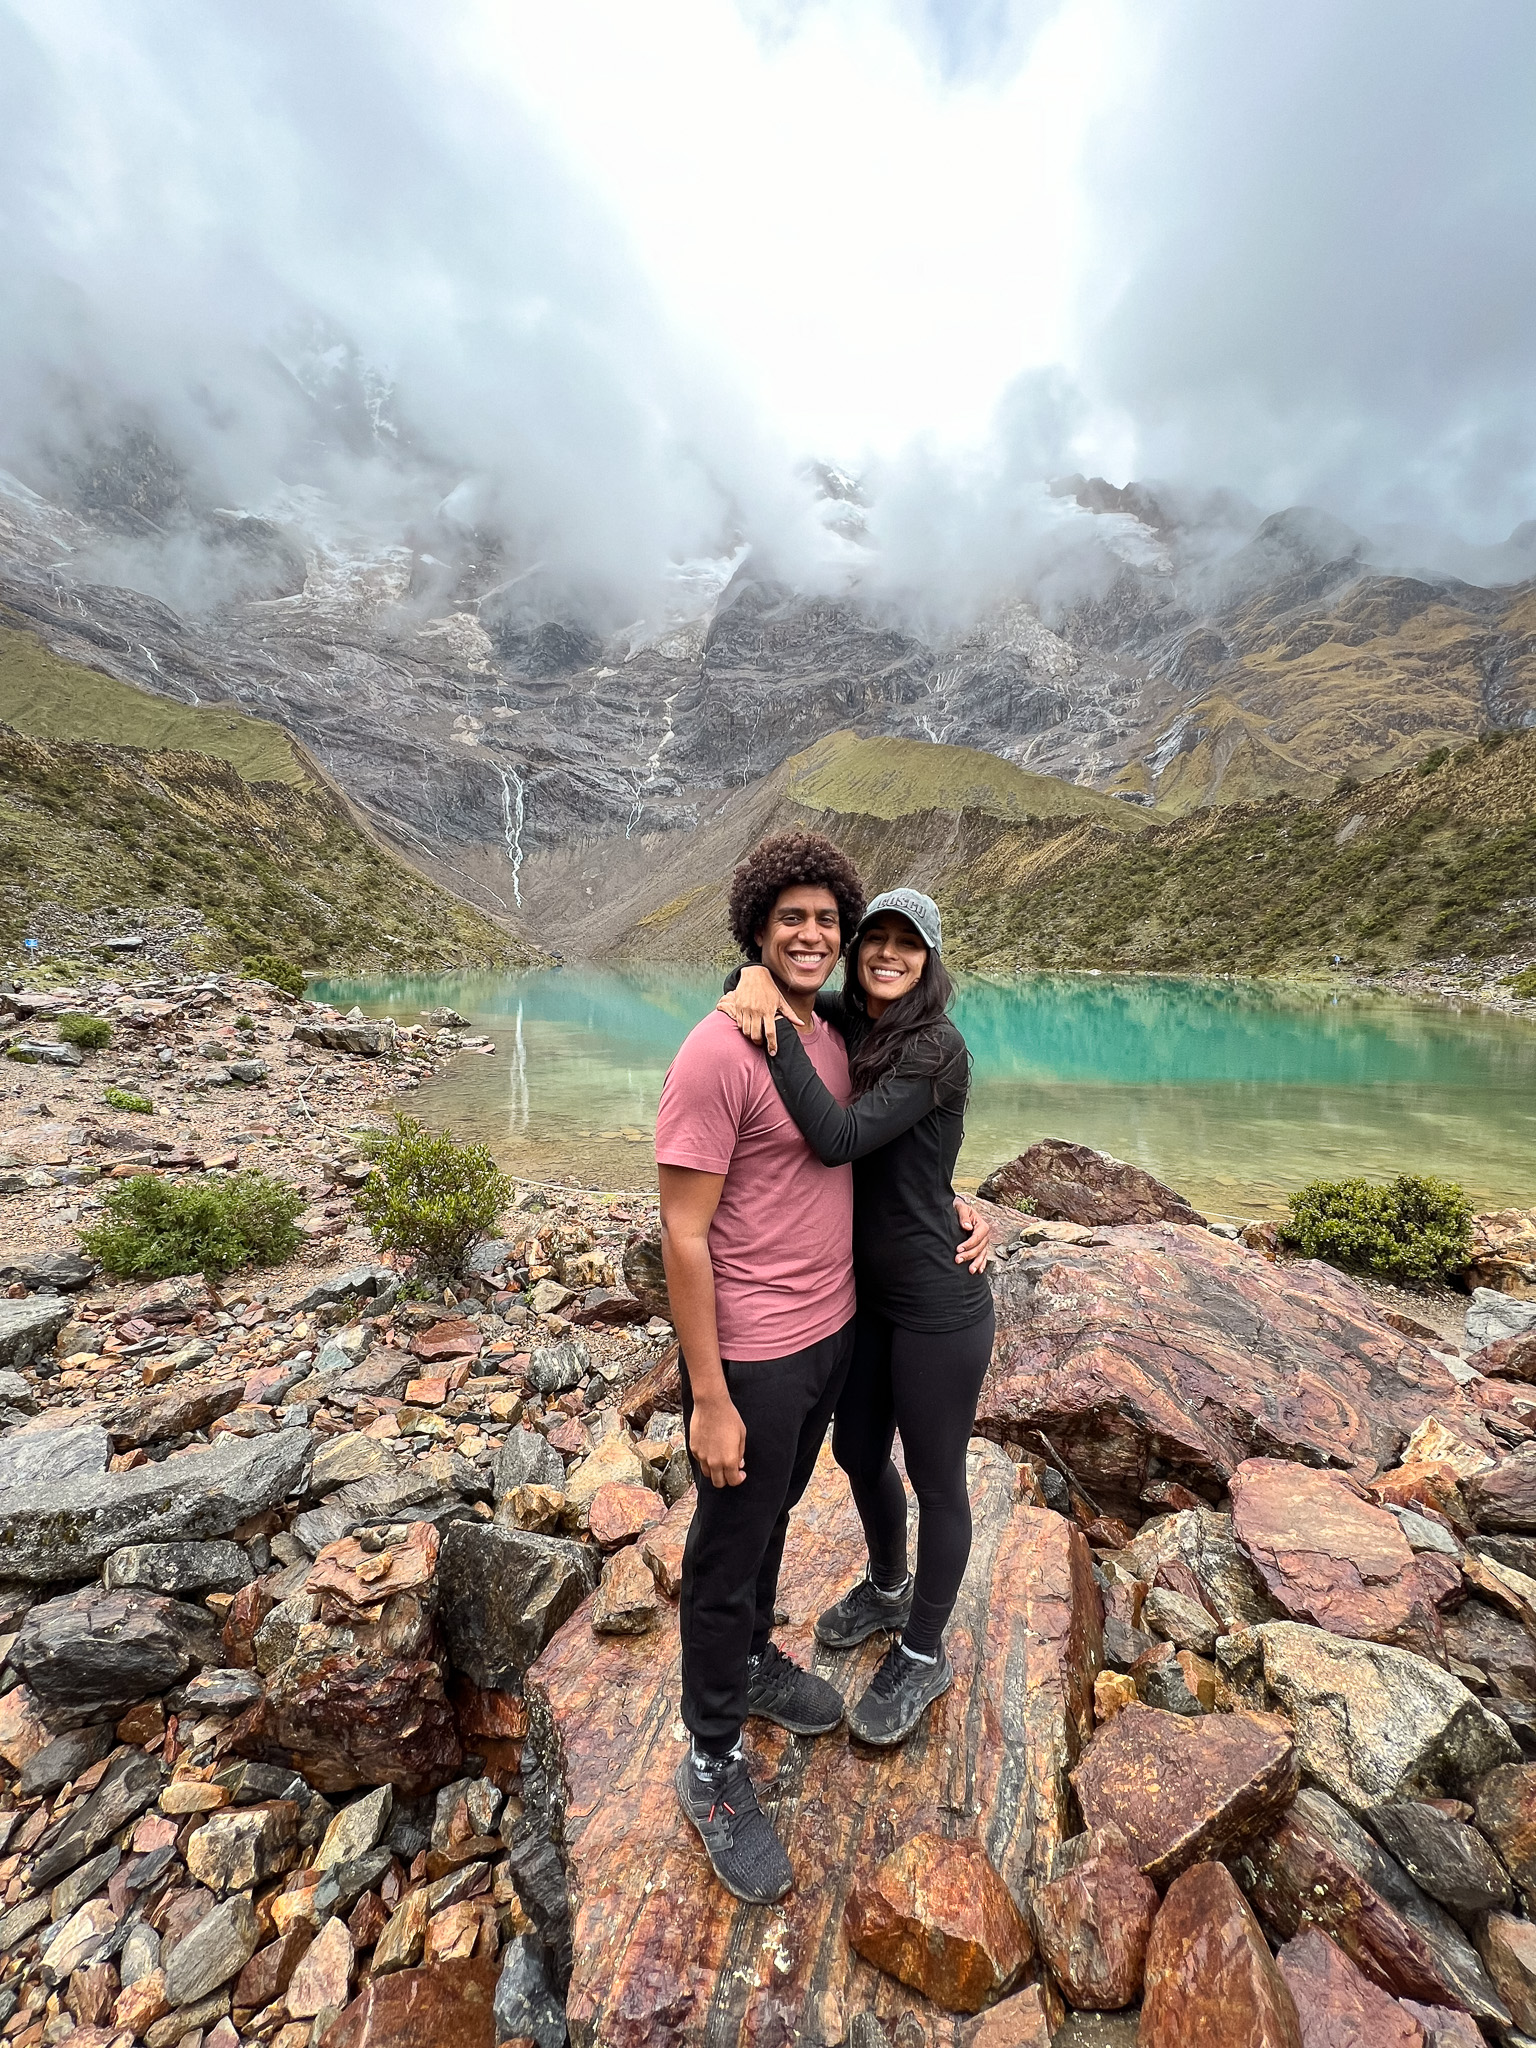
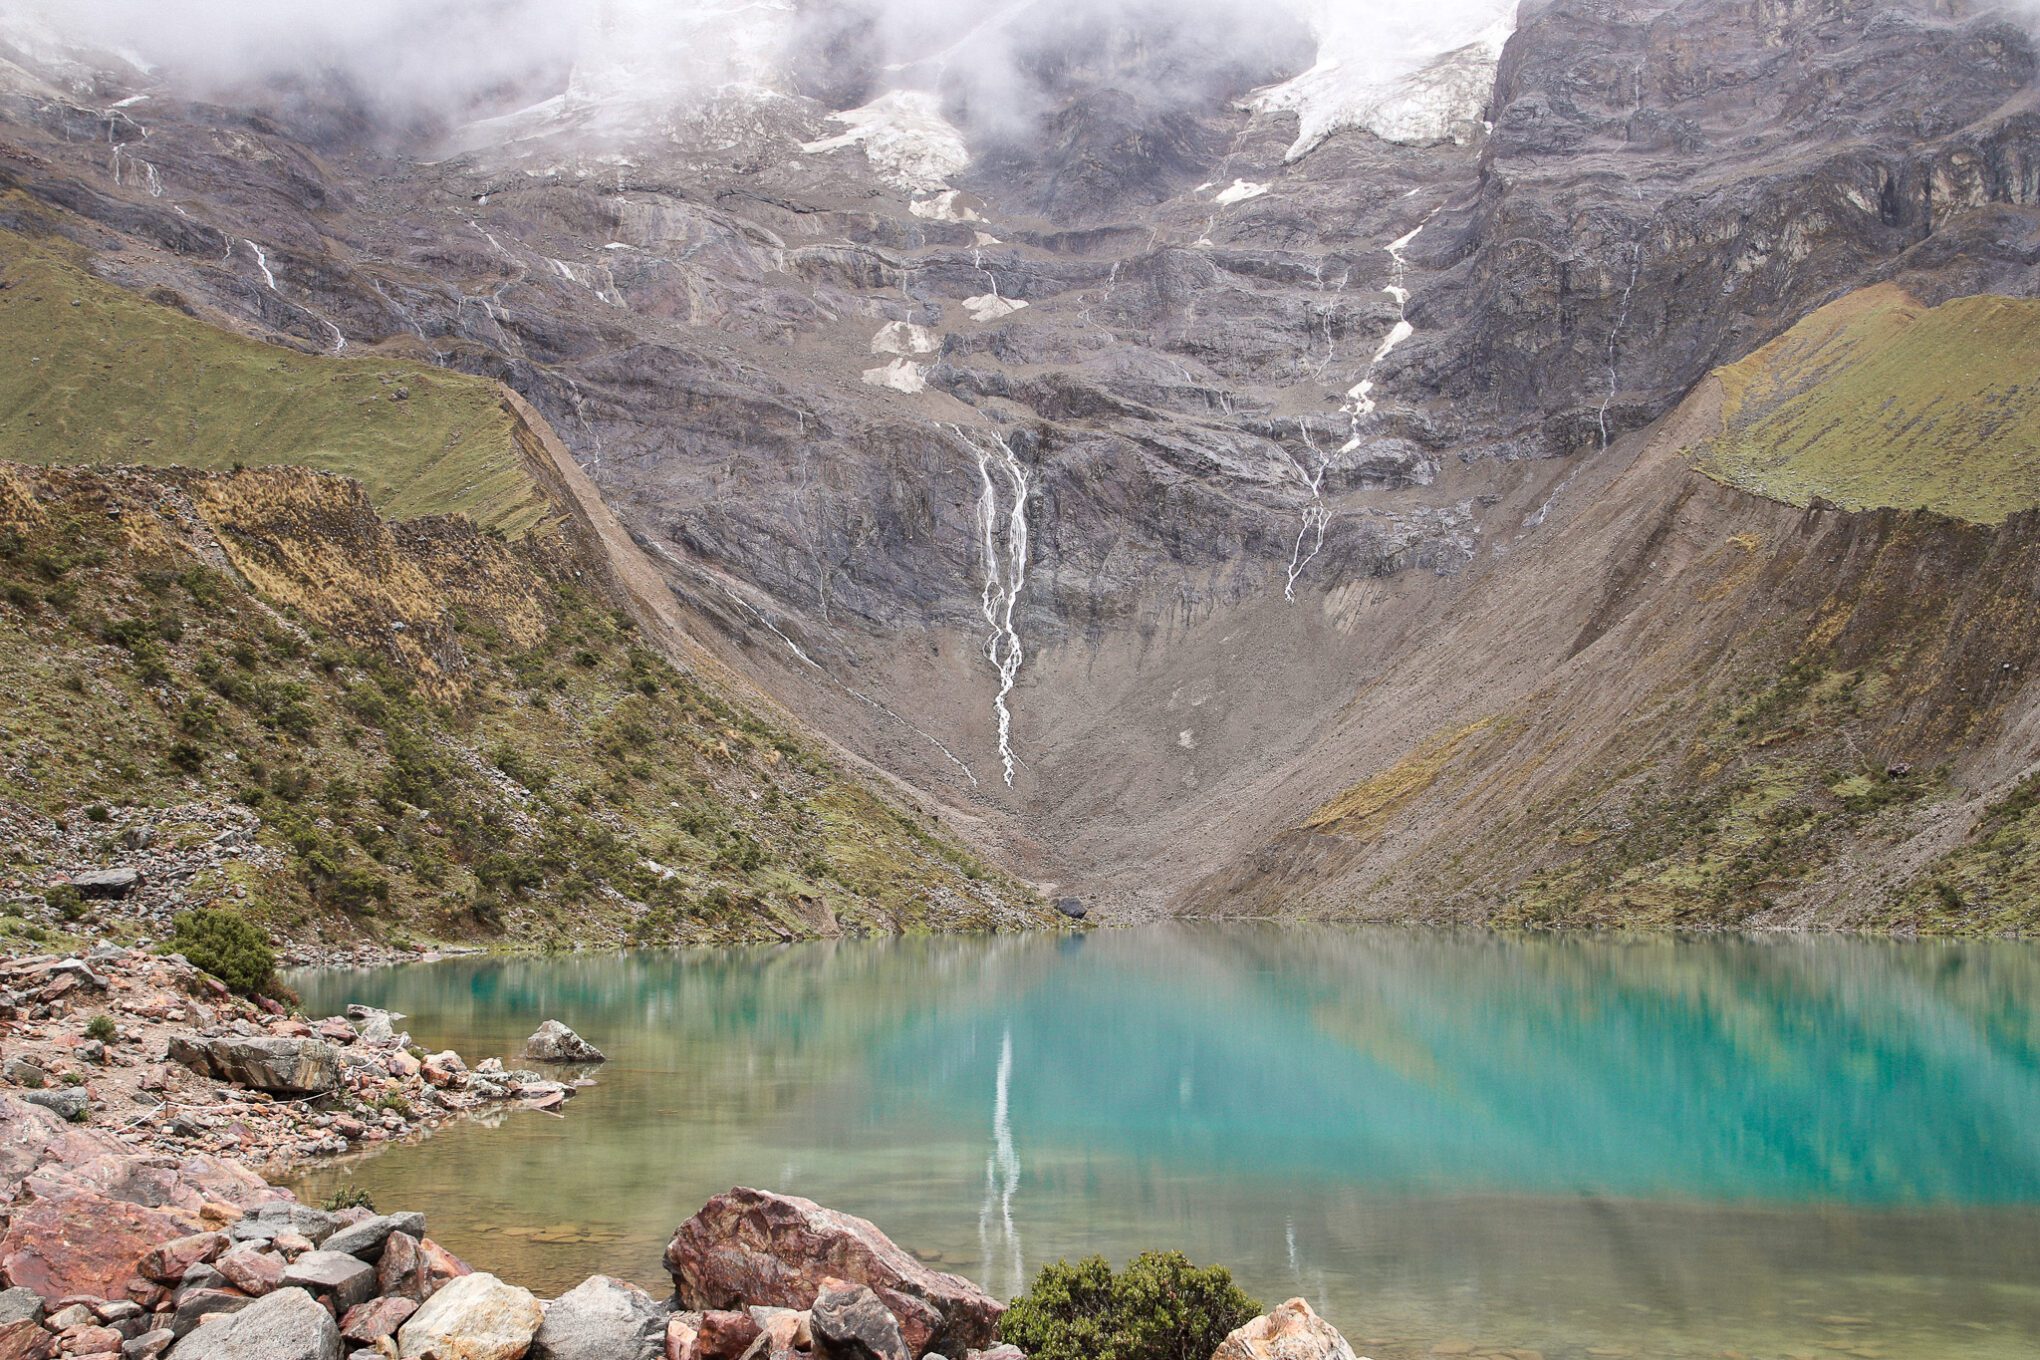
We met at the Reservations office at 5 a.m. and took vans to Mollepata. After breakfast and a quick briefing, we began the first day’s hike. The van dropped us off at Soraypampa (3850m) to start the 10 km (6-hour) trek. Our first stop was Humantay Lagoon (4200m), where we relaxed and took stunning photos before continuing to the campsite for lunch and some much needed rest. Though we did not get sick from the altitude, we felt extremely exhausted. At 6 p.m., we gathered for another briefing and dinner with our group, then prepared for the next day and settled in for a cozy night’s sleep.
Not doing the Salkantay Trek? You can book a stand alone ticket to visit the Humantay Lagoon here!
Day 2
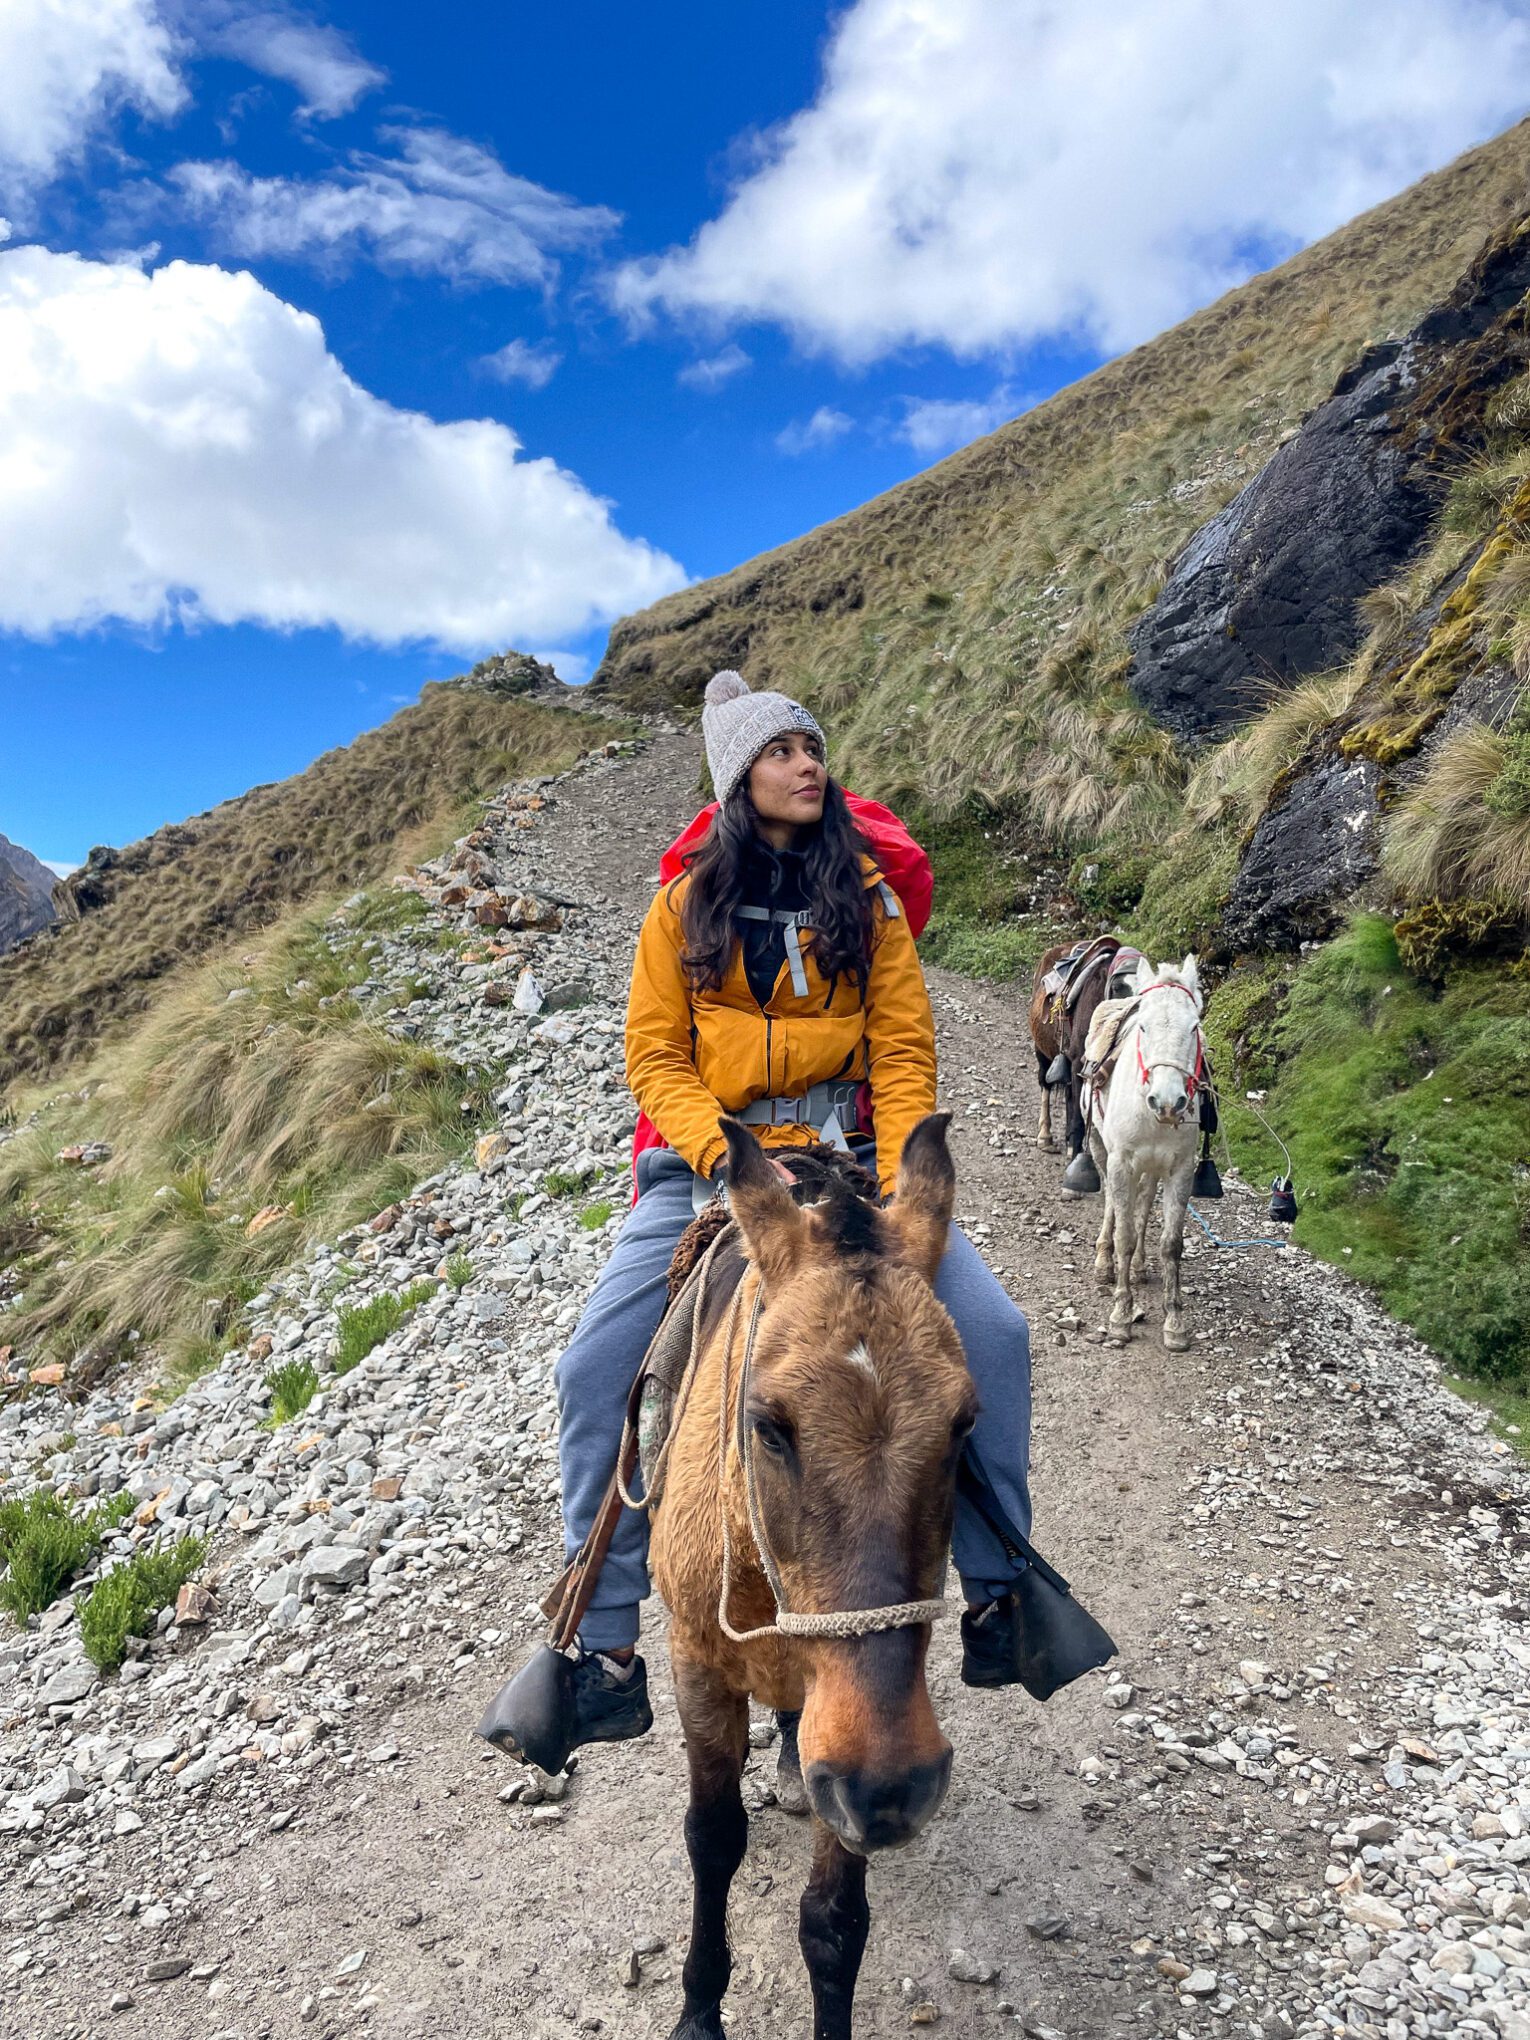
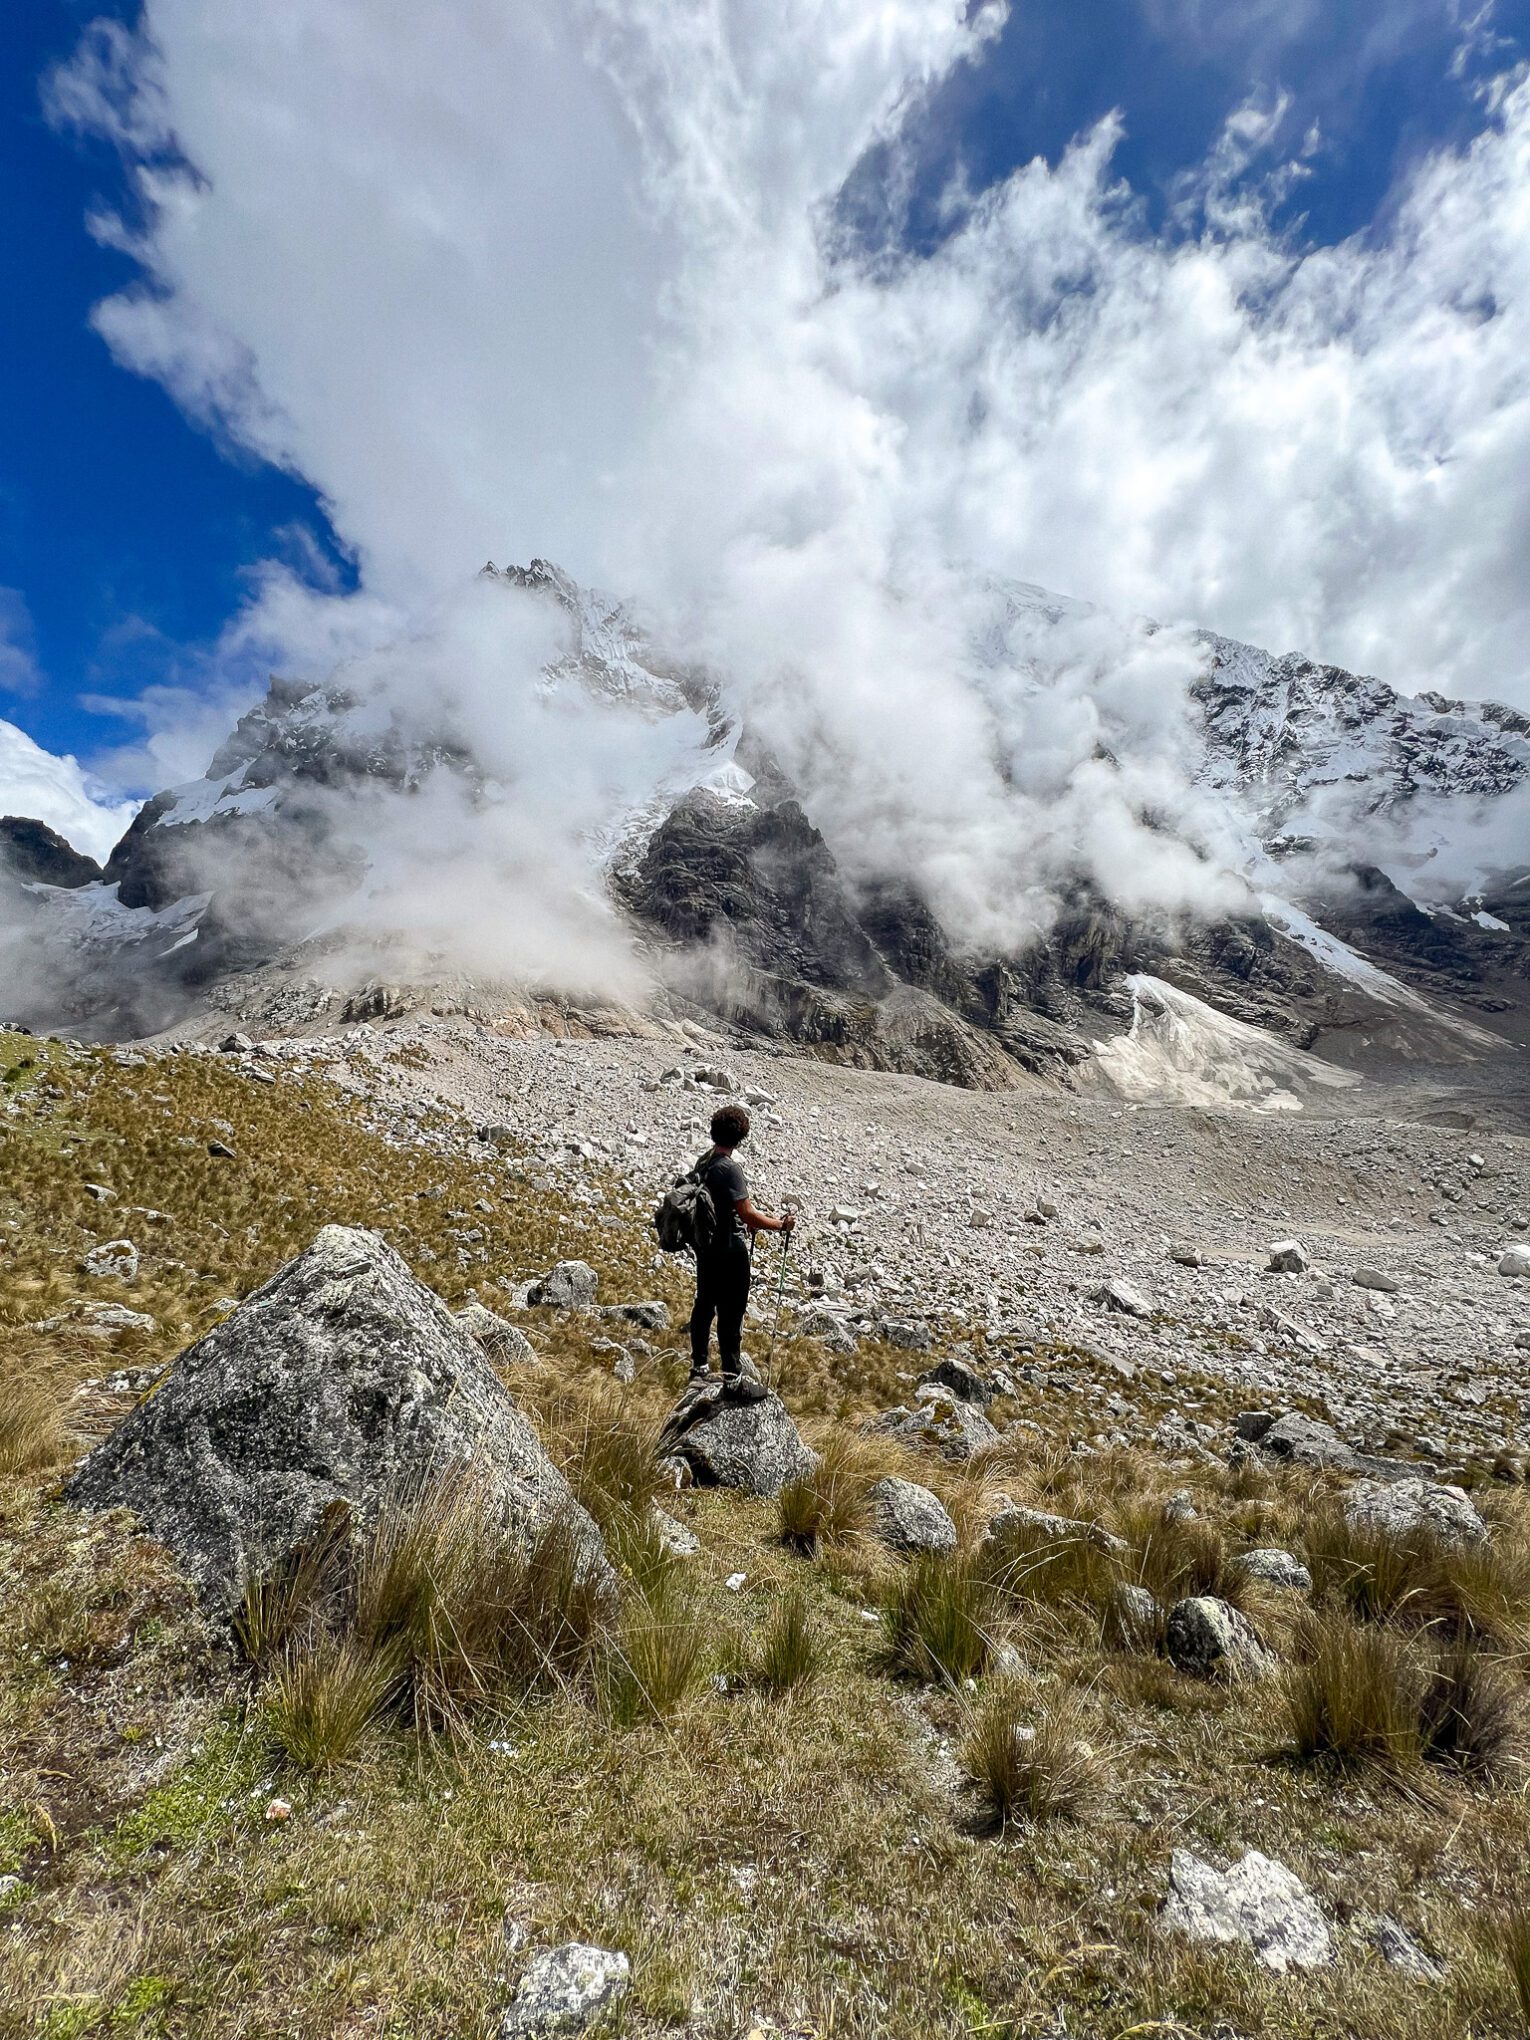
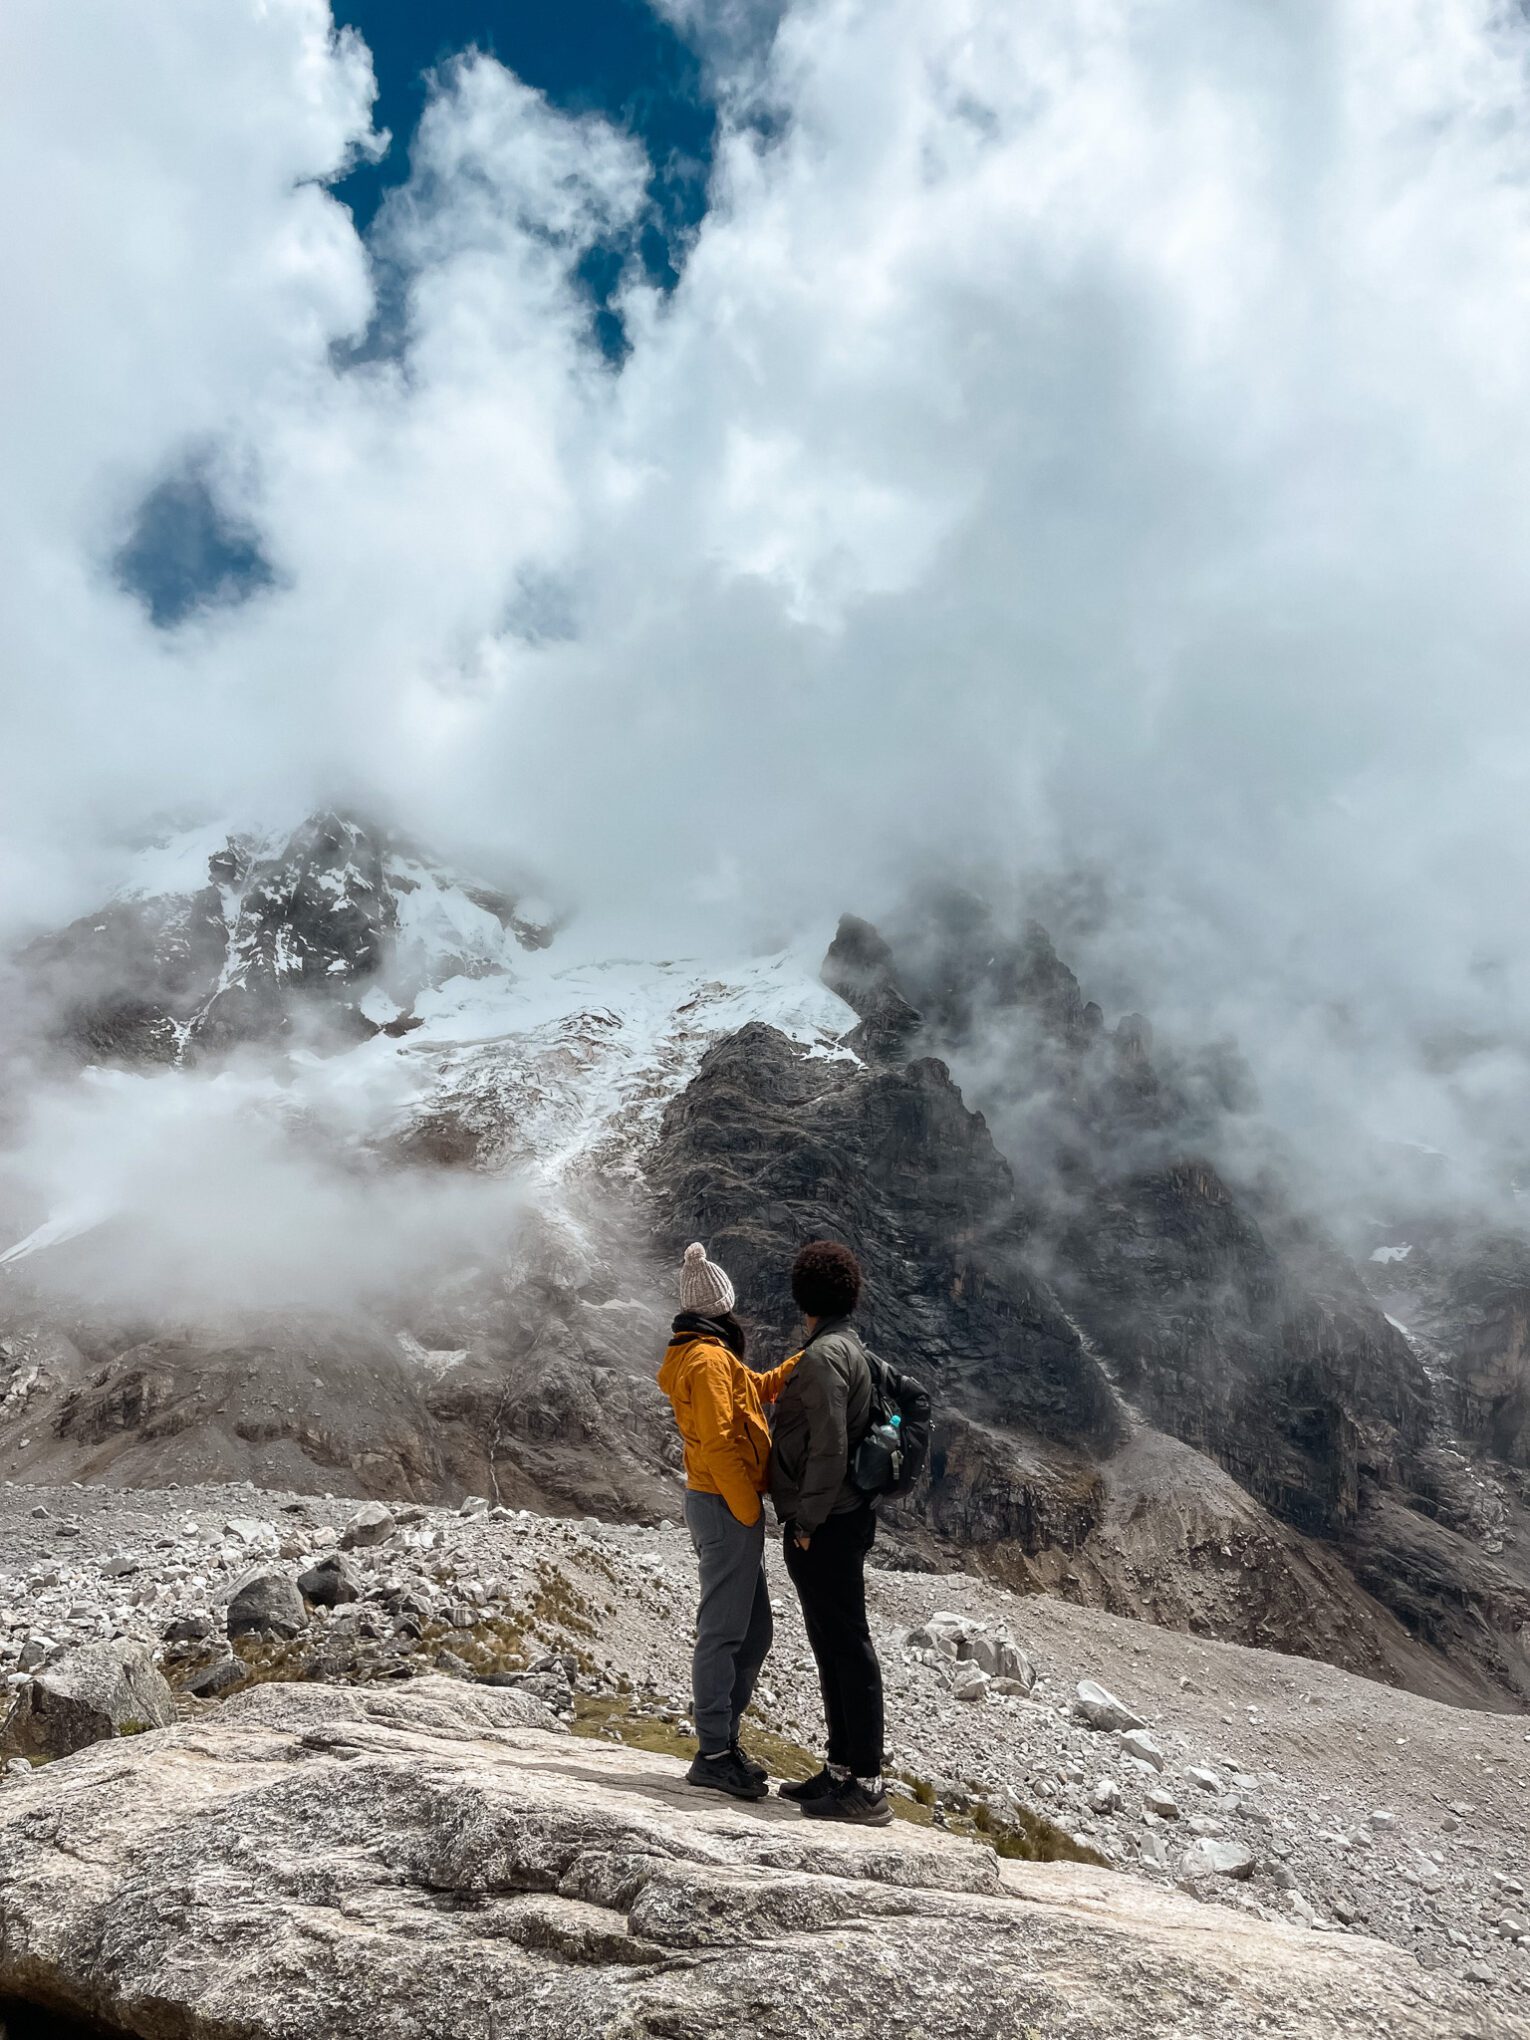
The staff woke us up at 5 a.m. with coca leaf tea delivered to our cabins. We packed our things, had breakfast, and received a briefing before starting the longest hike of the trek—22 km (10 hours) ascending to the Salkantay Pass (4600m). I (Thais) decided to take a horse up and LOVED riding through the valleys, as it was relaxing and really allowed me to take in the scenery and be in the moment. This was an additional cost and the decision had to be made the night prior. Kelvyn opted to hike on foot and enjoyed the challenging adventure. Upon arriving at the peak, we all relaxed, took some picture, and prepared for the next part of the day, which consisted of descending to a lunch spot, and then to the Chawllay campsite (2900m), where we finally had the chance to take a hot shower, relax with other groups, and unwind before dinner and a briefing for the following day.
Day 3
Like the day before, we woke up early to stay on schedule. This was the easiest day, with a mostly flat 16 km (6-hour) hike through the Santa Teresa Valley that ended at a coffee plantation in Lucmabamba(2000m), where we enjoyed a short tour. Afterward, we drove to the campsite for lunch. Those on a 4-day trek continued to Aguas Calientes, while those on the 5-day trek had the option to do activities like zip lining or visit the Santa Teresa hot springs (we opted for the hot springs for an additional cost). We finished the day with dinner and a light briefing.
Day 4
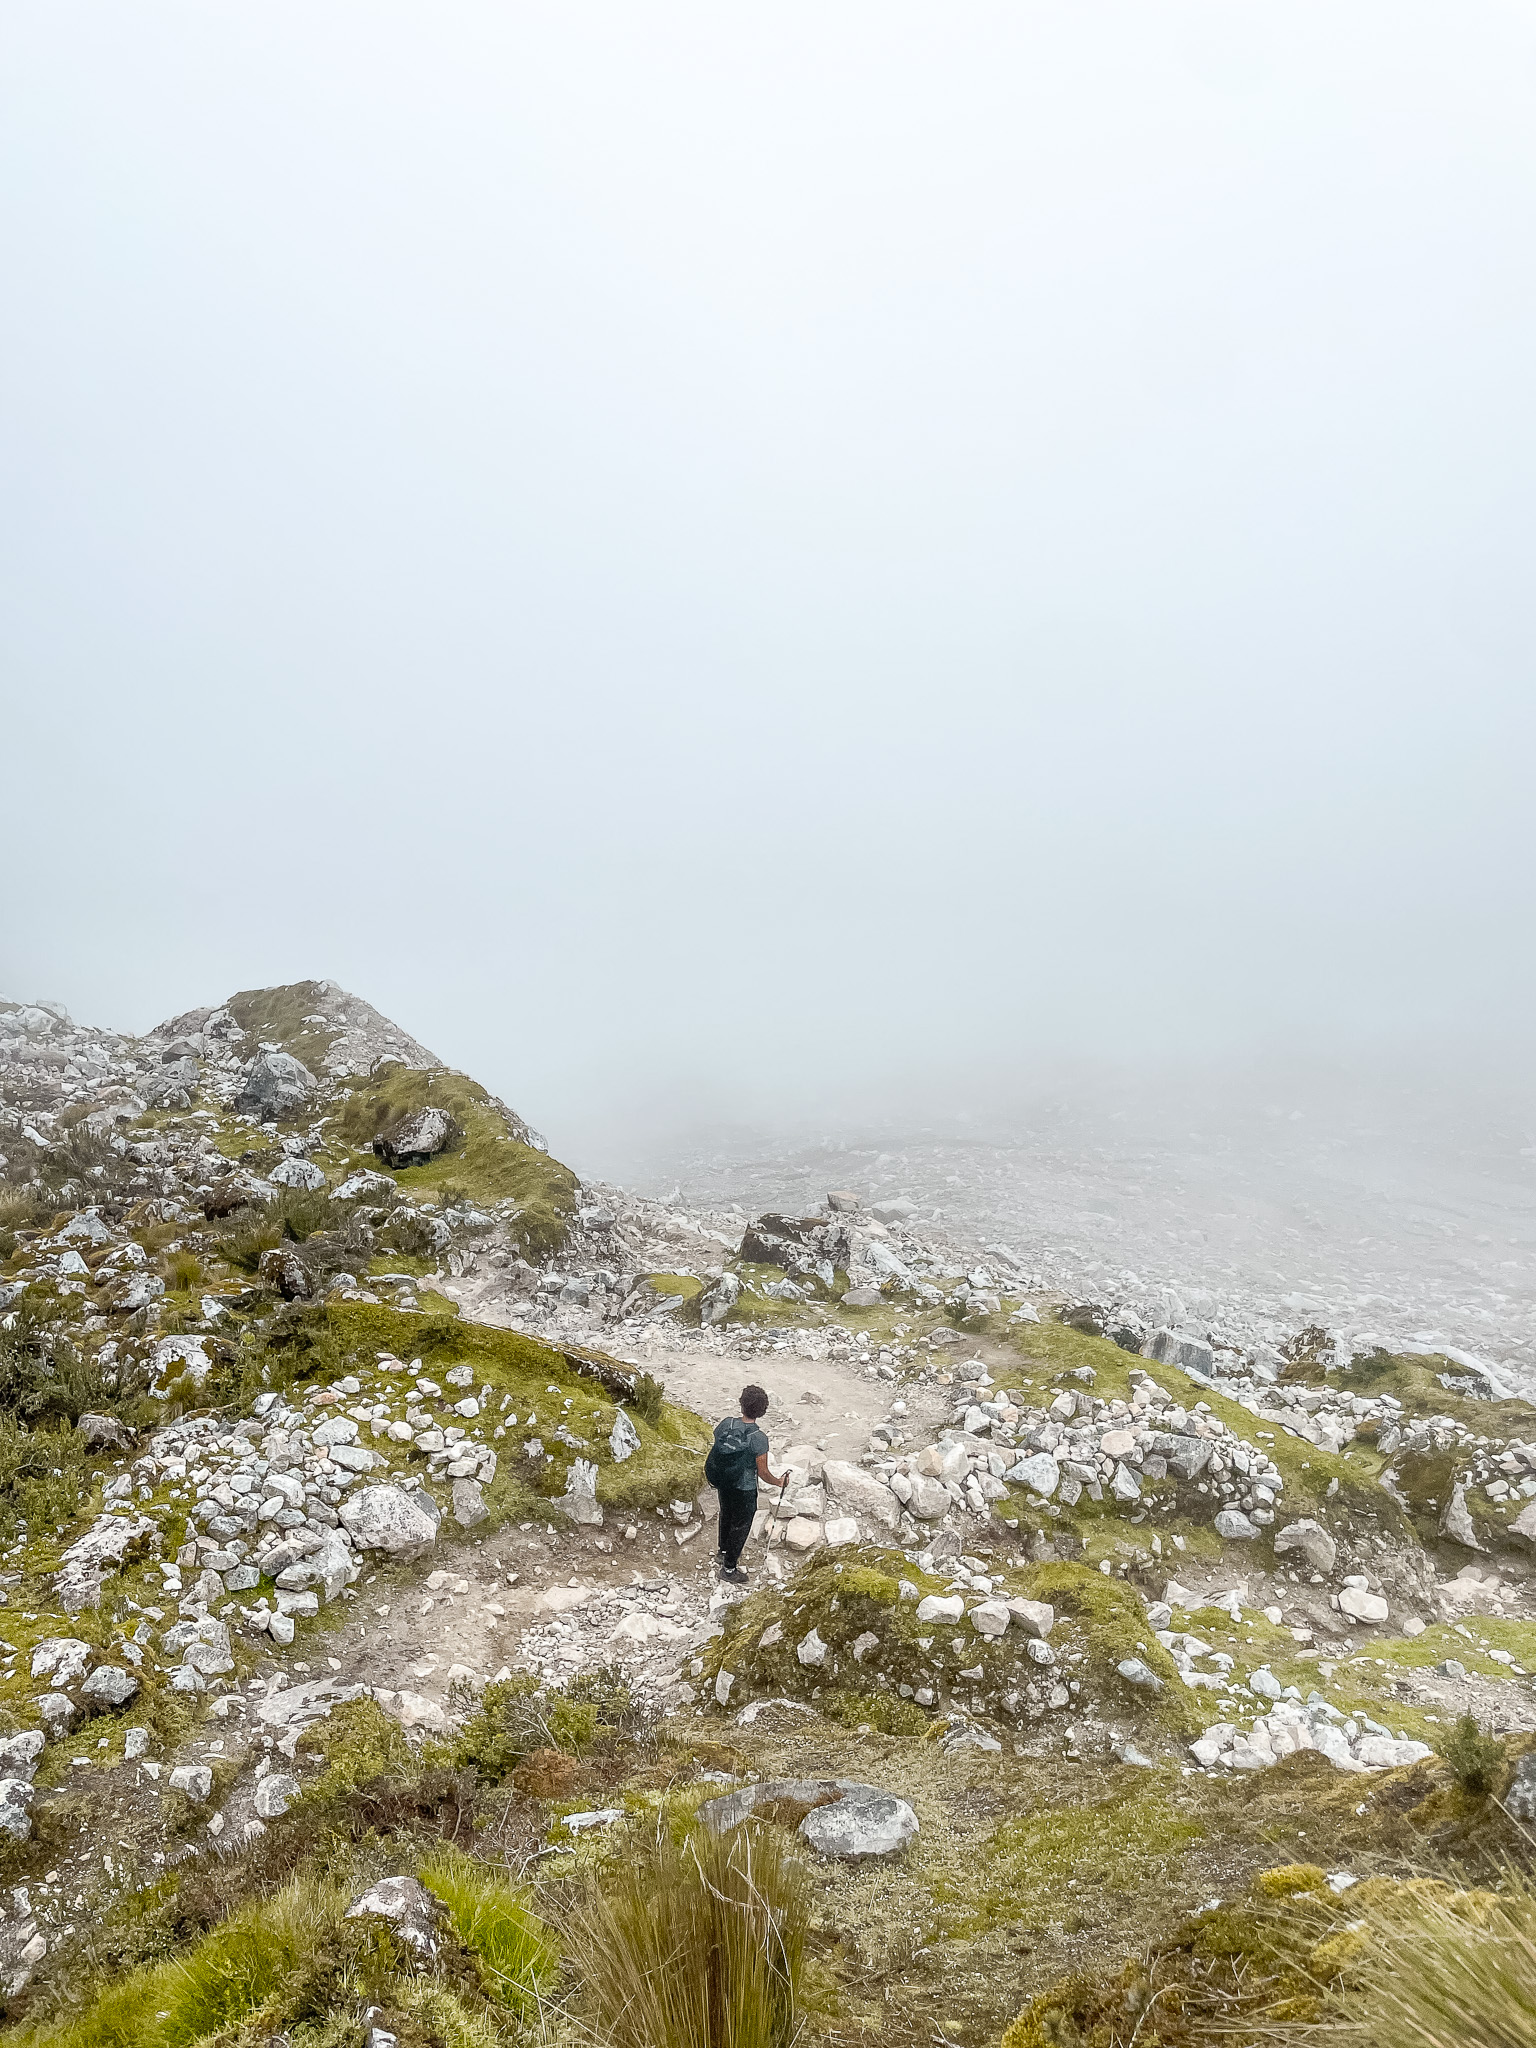
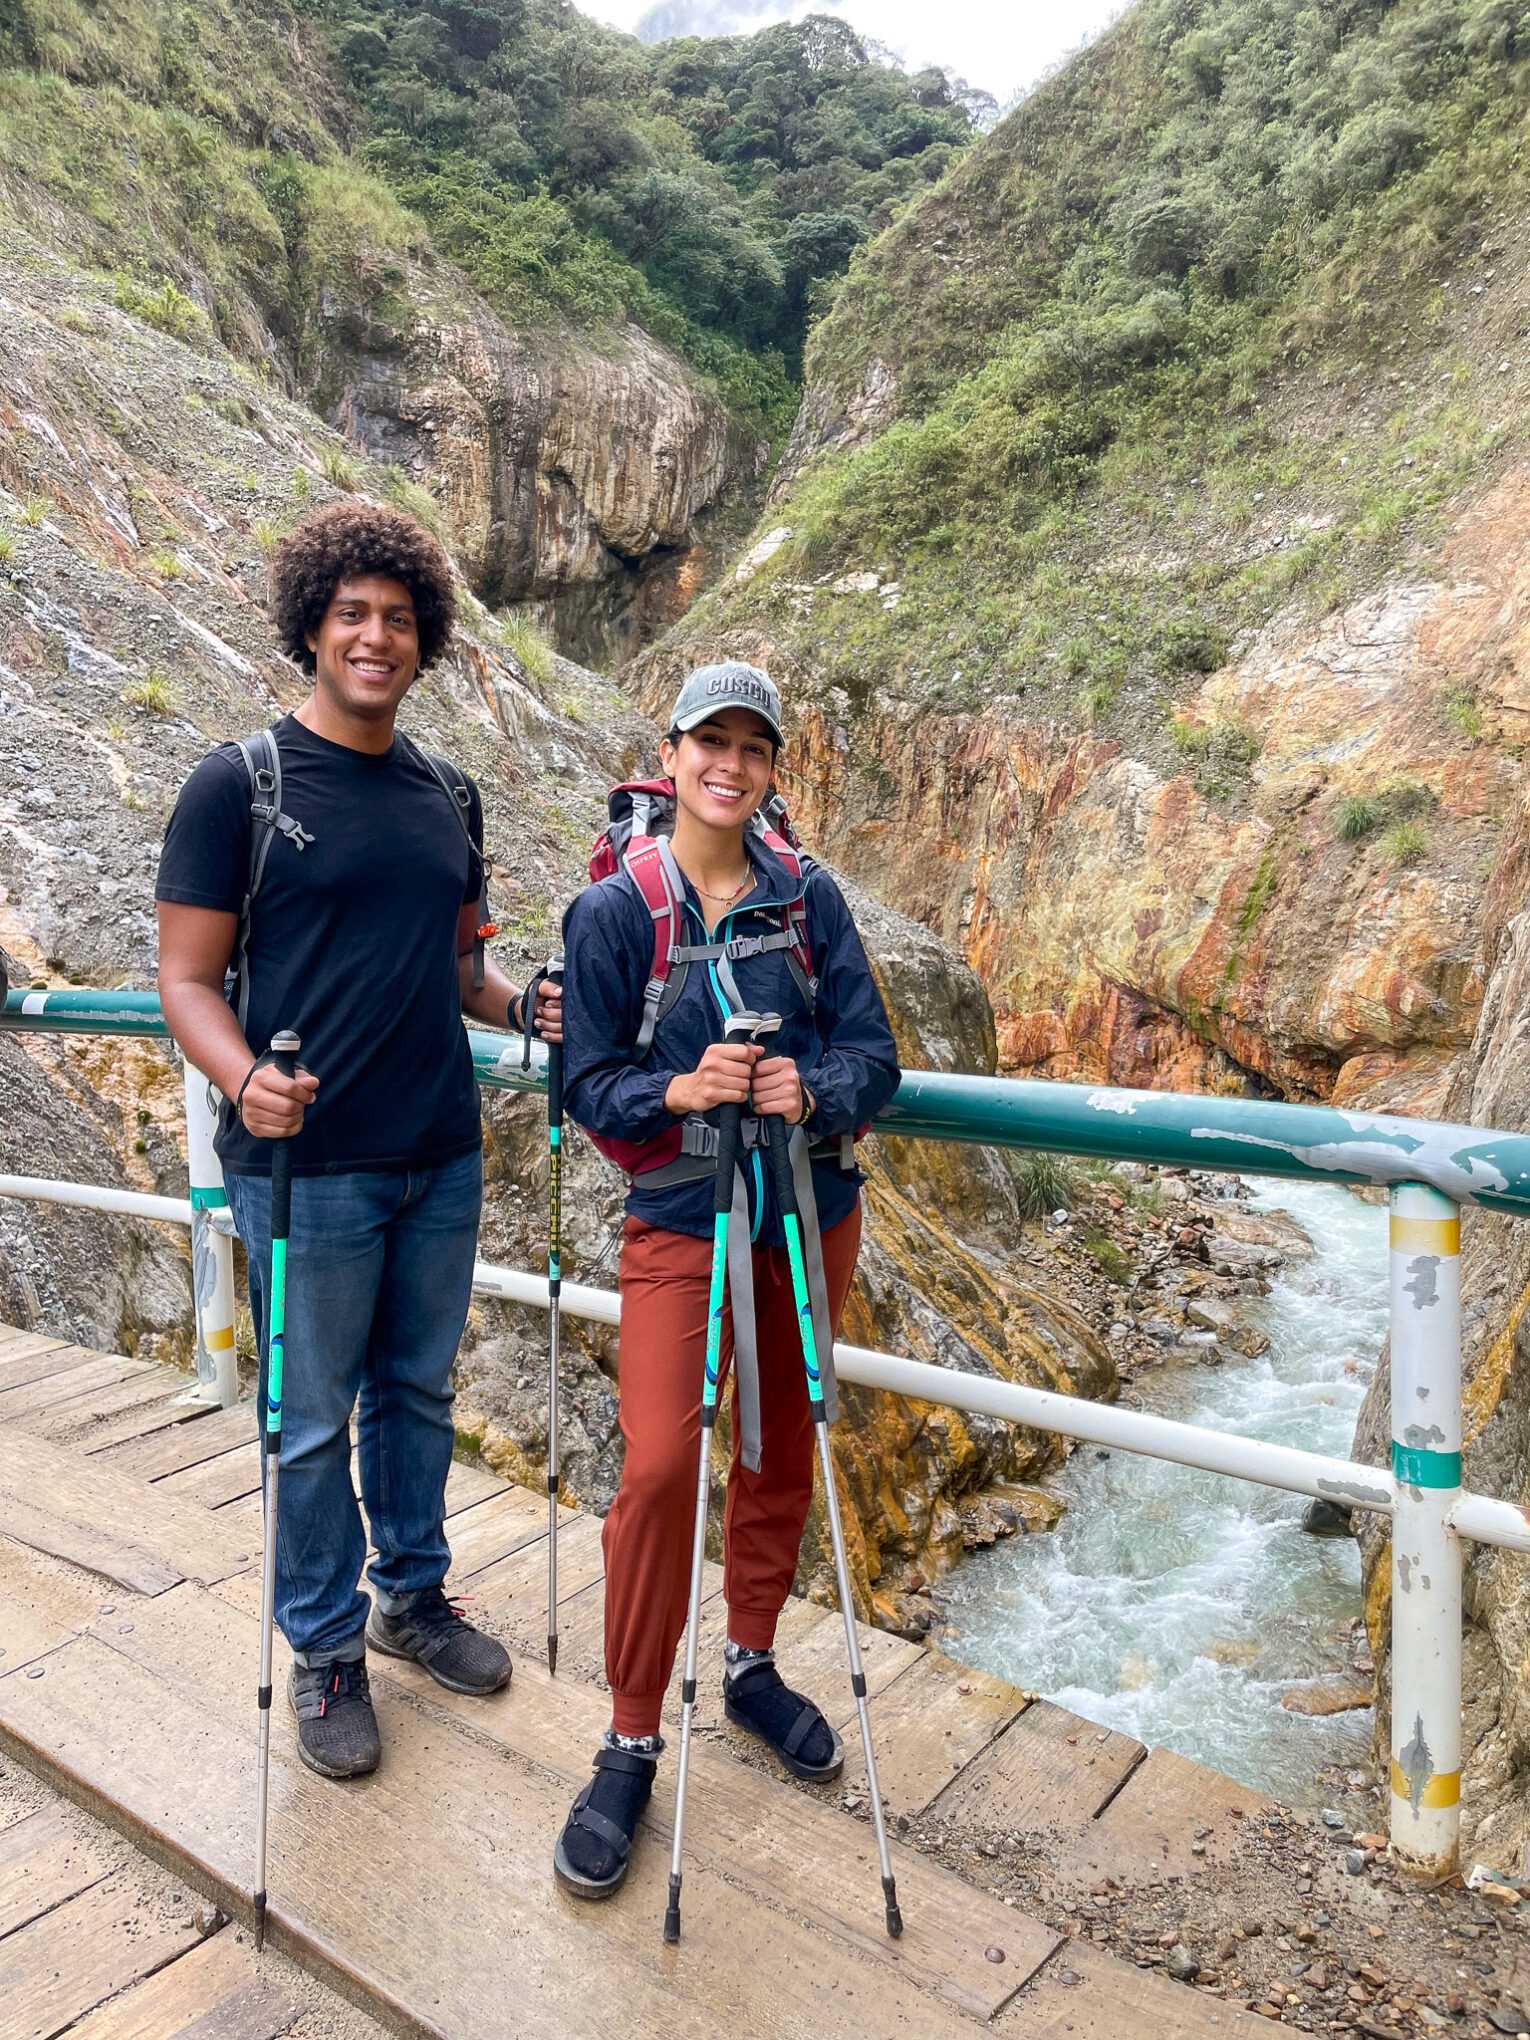
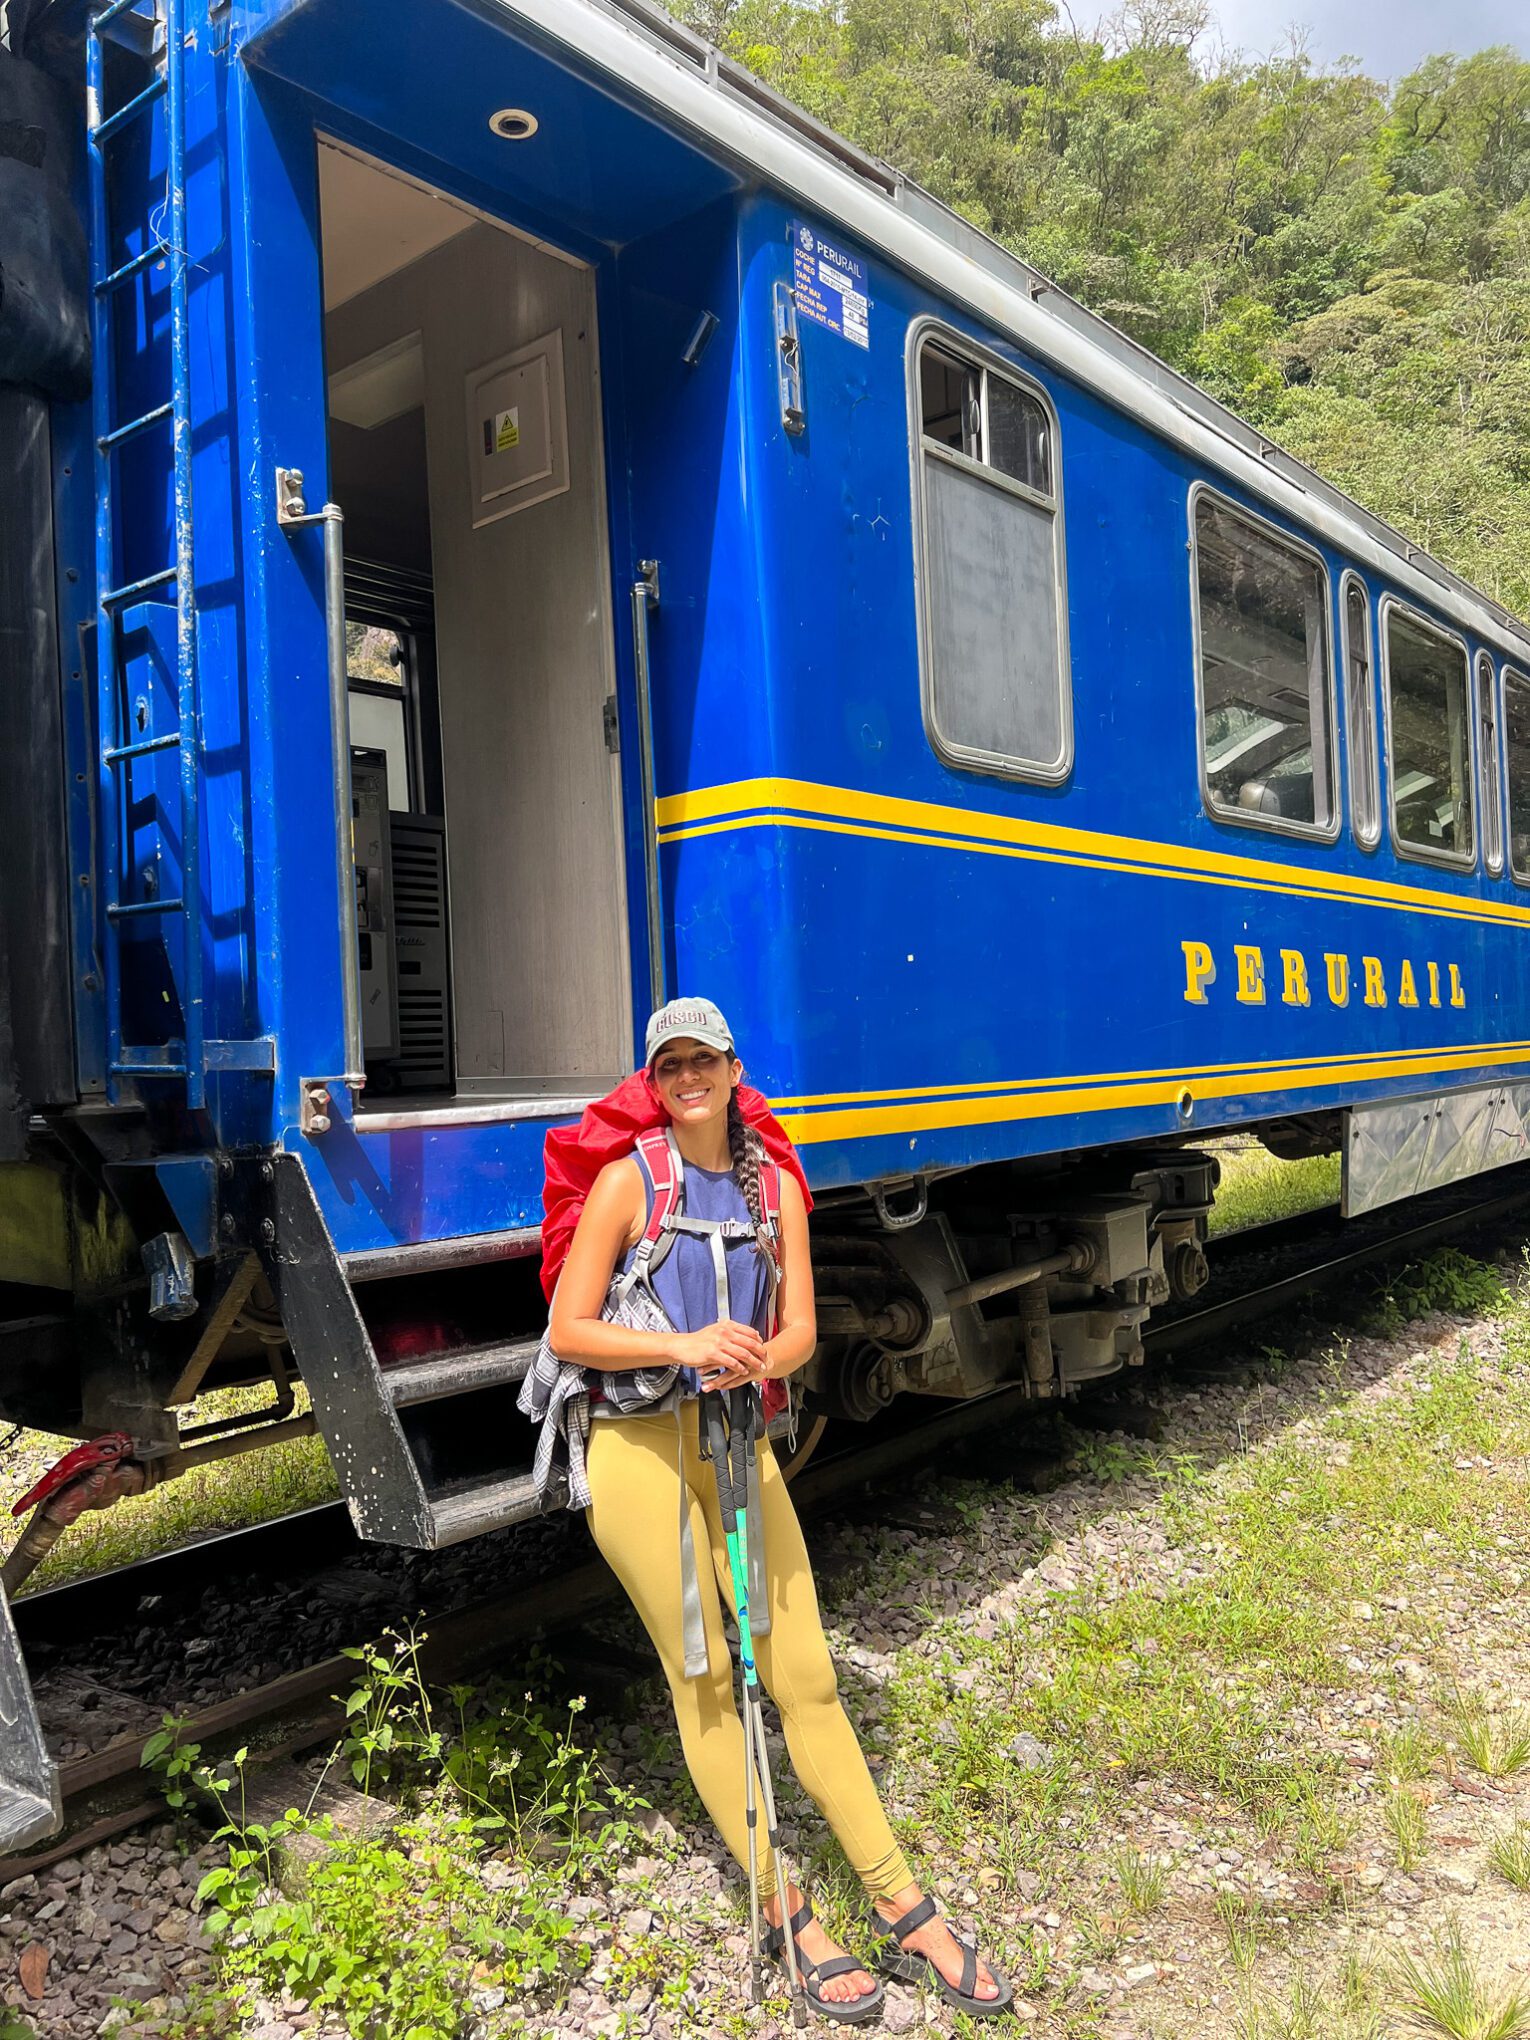
We started the day early with a 24 km (9-hour) hike to Aguas Calientes (2,000m). The hike began with an ascent to the Llactapata ruins (2,700m) and then the Machu Picchu viewpoint. We were exhausted at this point and were worried how difficult this final day would be. We descended to Hidroeléctrica (1,890m) for lunch and celebrated as were practically finished with the adventure. From there, there was the option to either pay for a train or walk an additional three hours along the railroad to Aguas Calientes. We chose the walking option which was free and it felt like the longest three hours of our lives. After arriving in Aguas Calientes, we checked into our hotel and queued for Machu Picchu entrance tickets since we hadn’t purchased them in advance. Once we secured our tickets, we headed to dinner with new friends, and ended the night early in our cozy hotel rooms.
Day 5
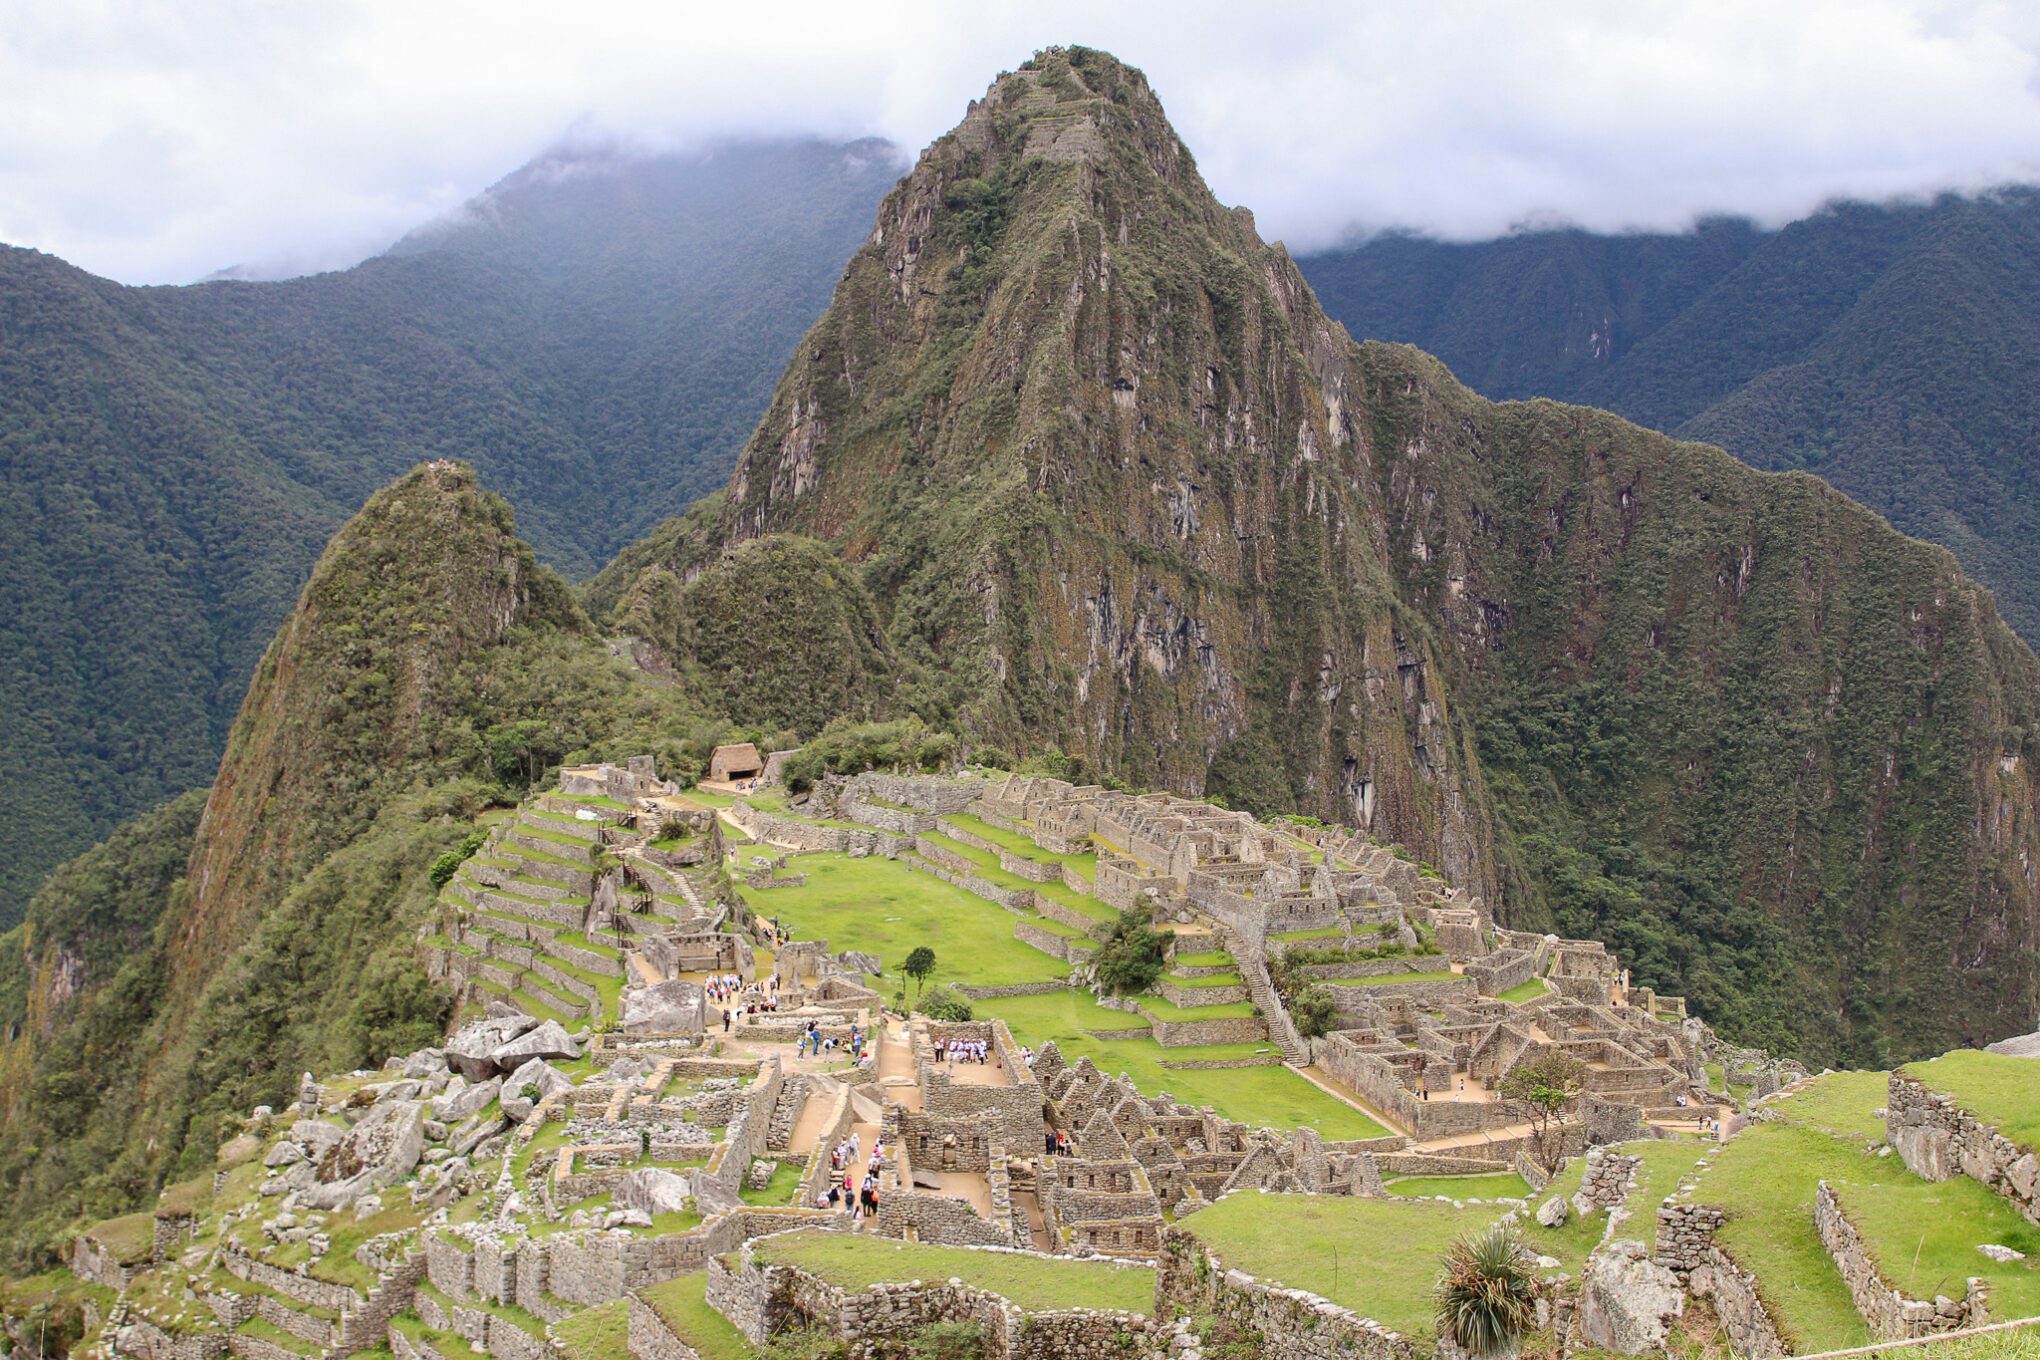
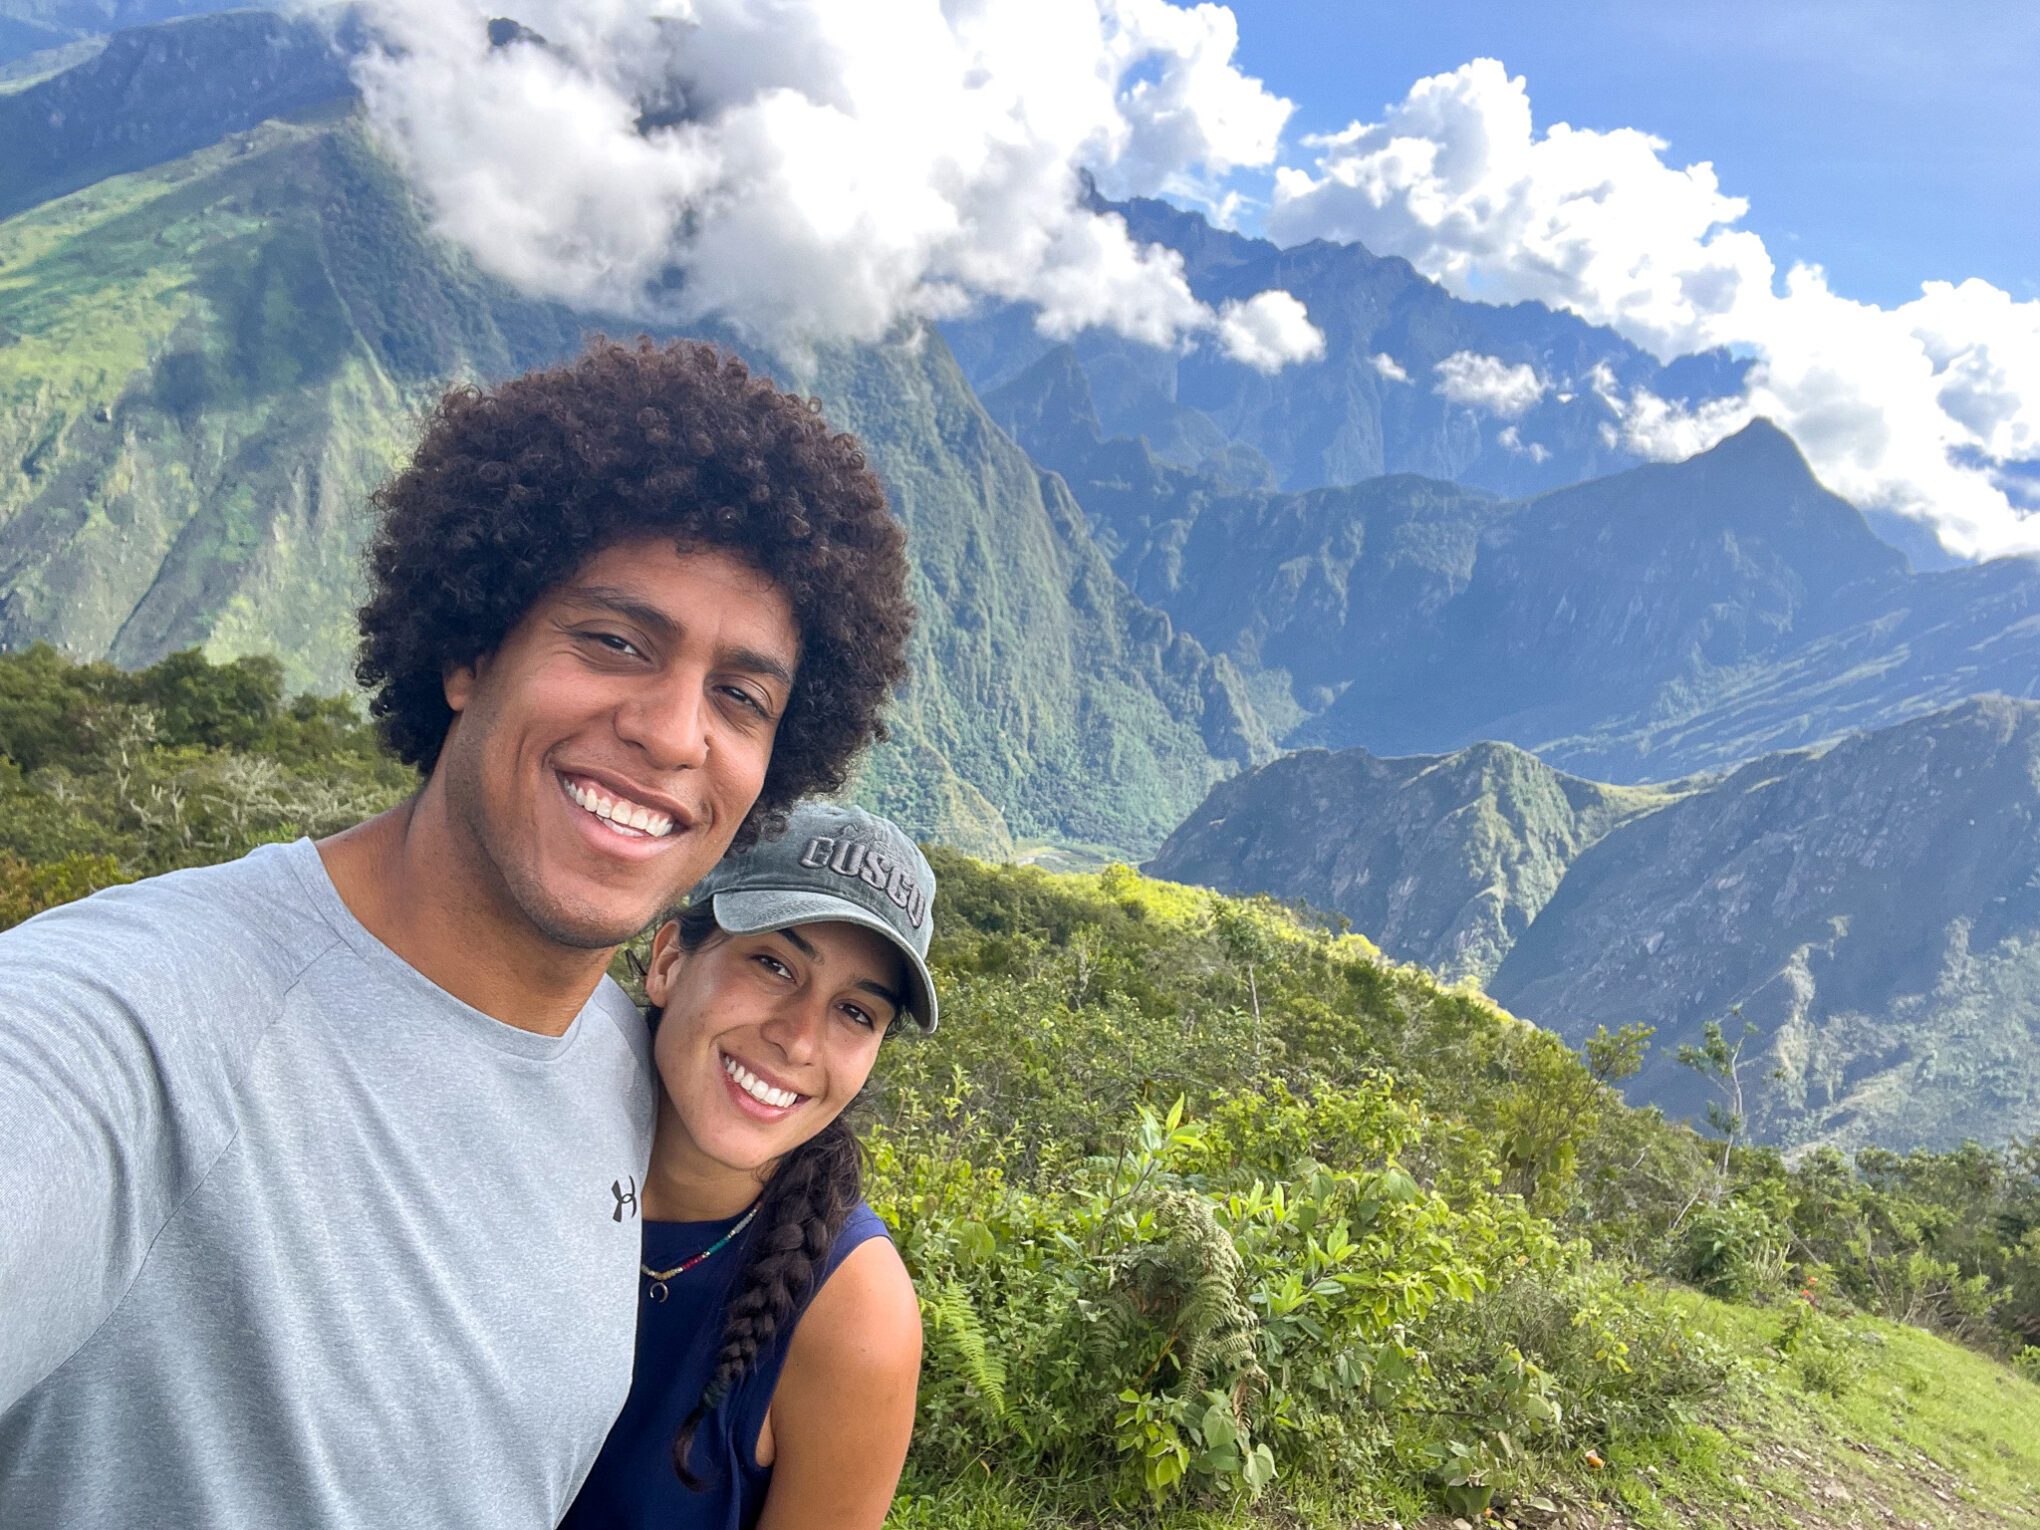
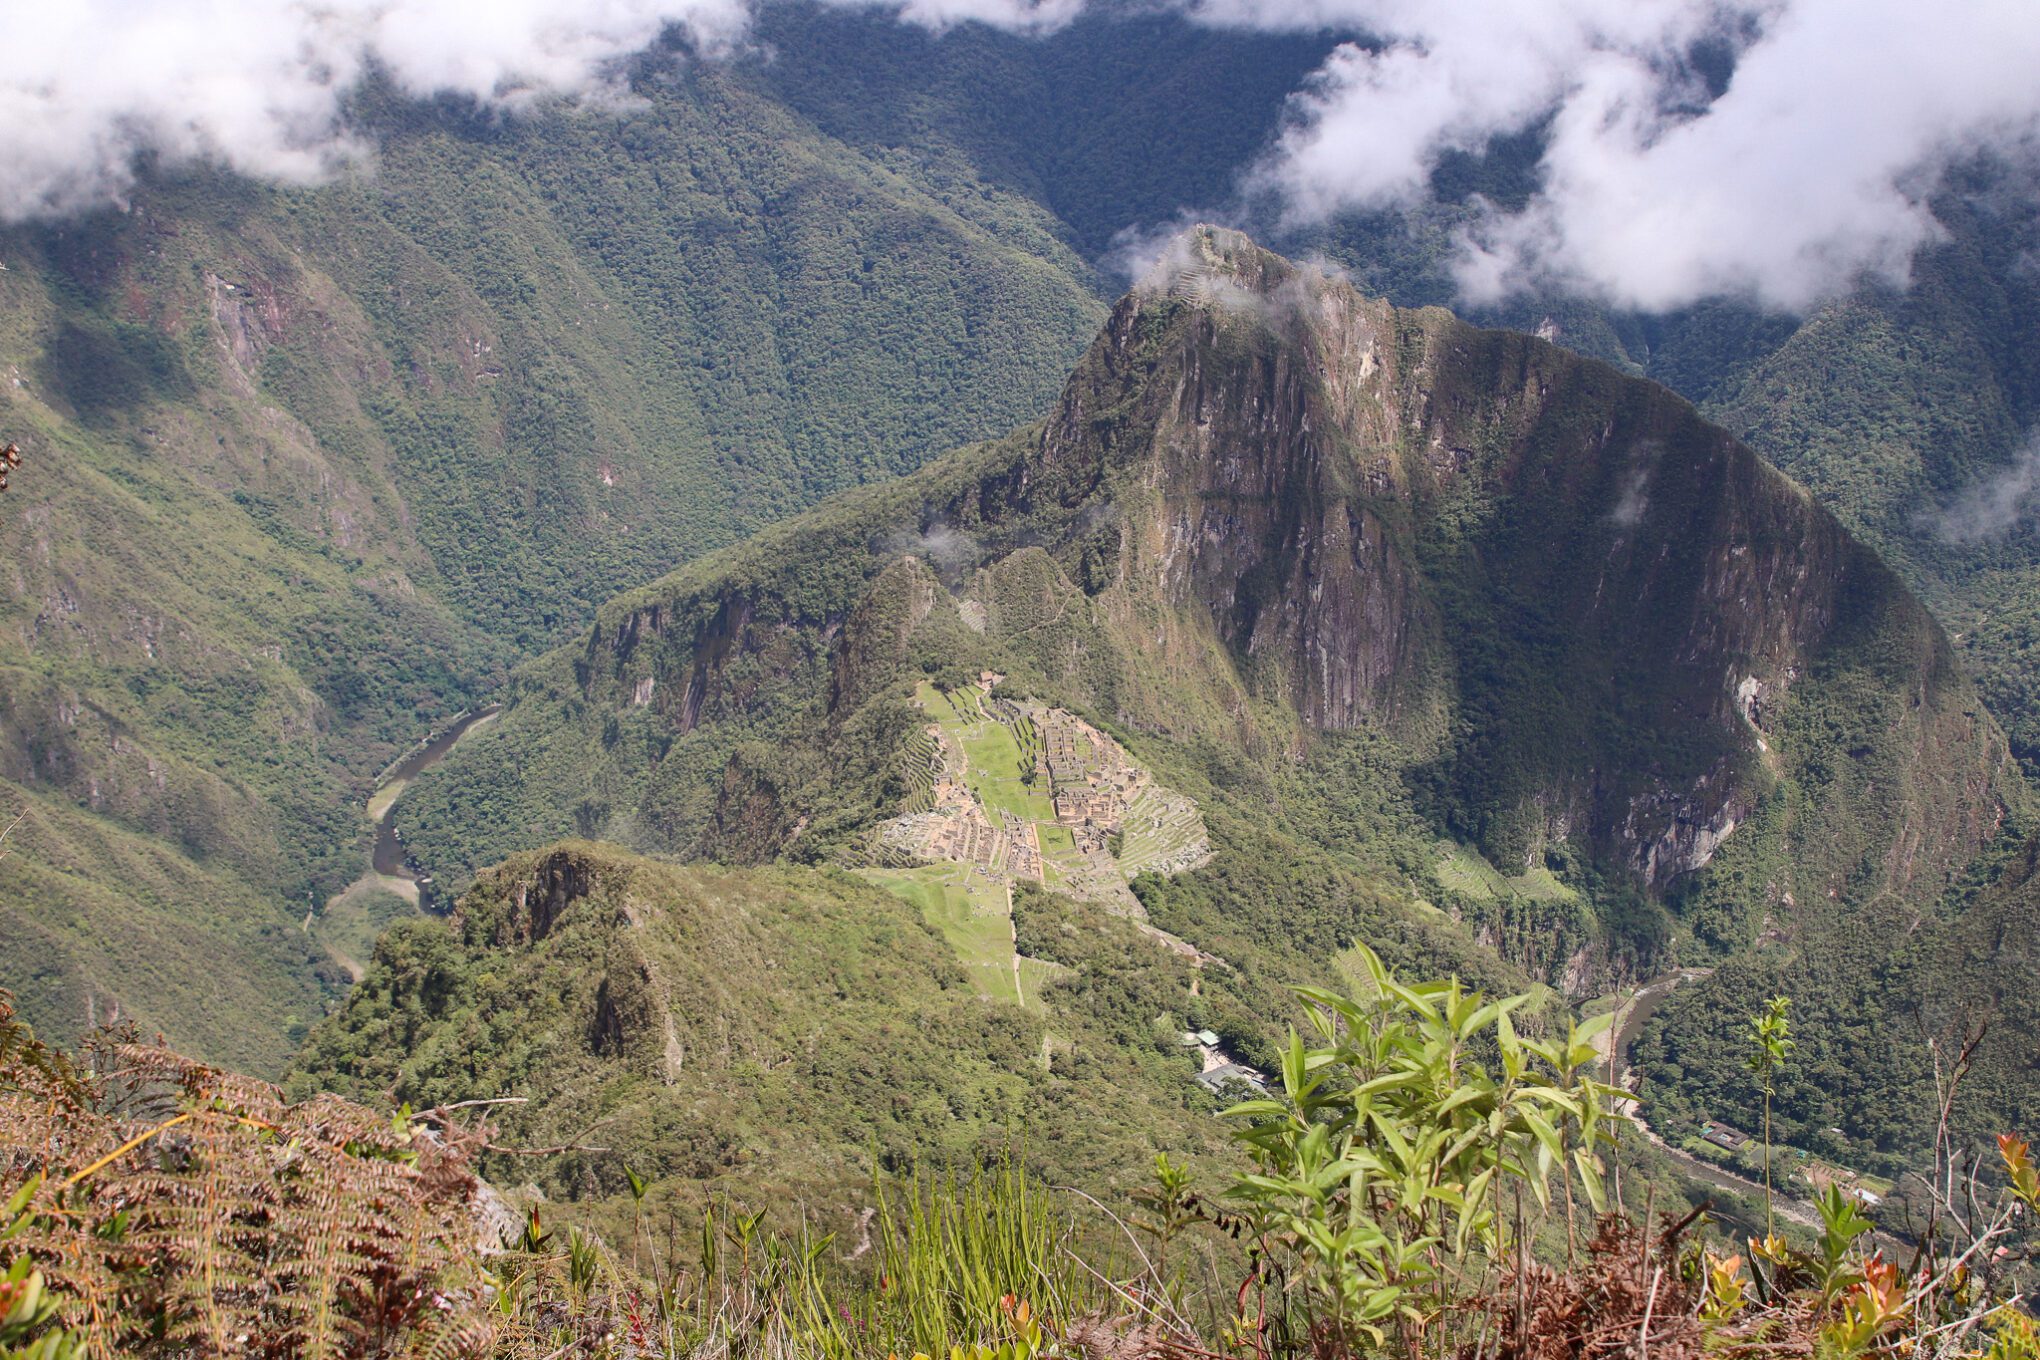
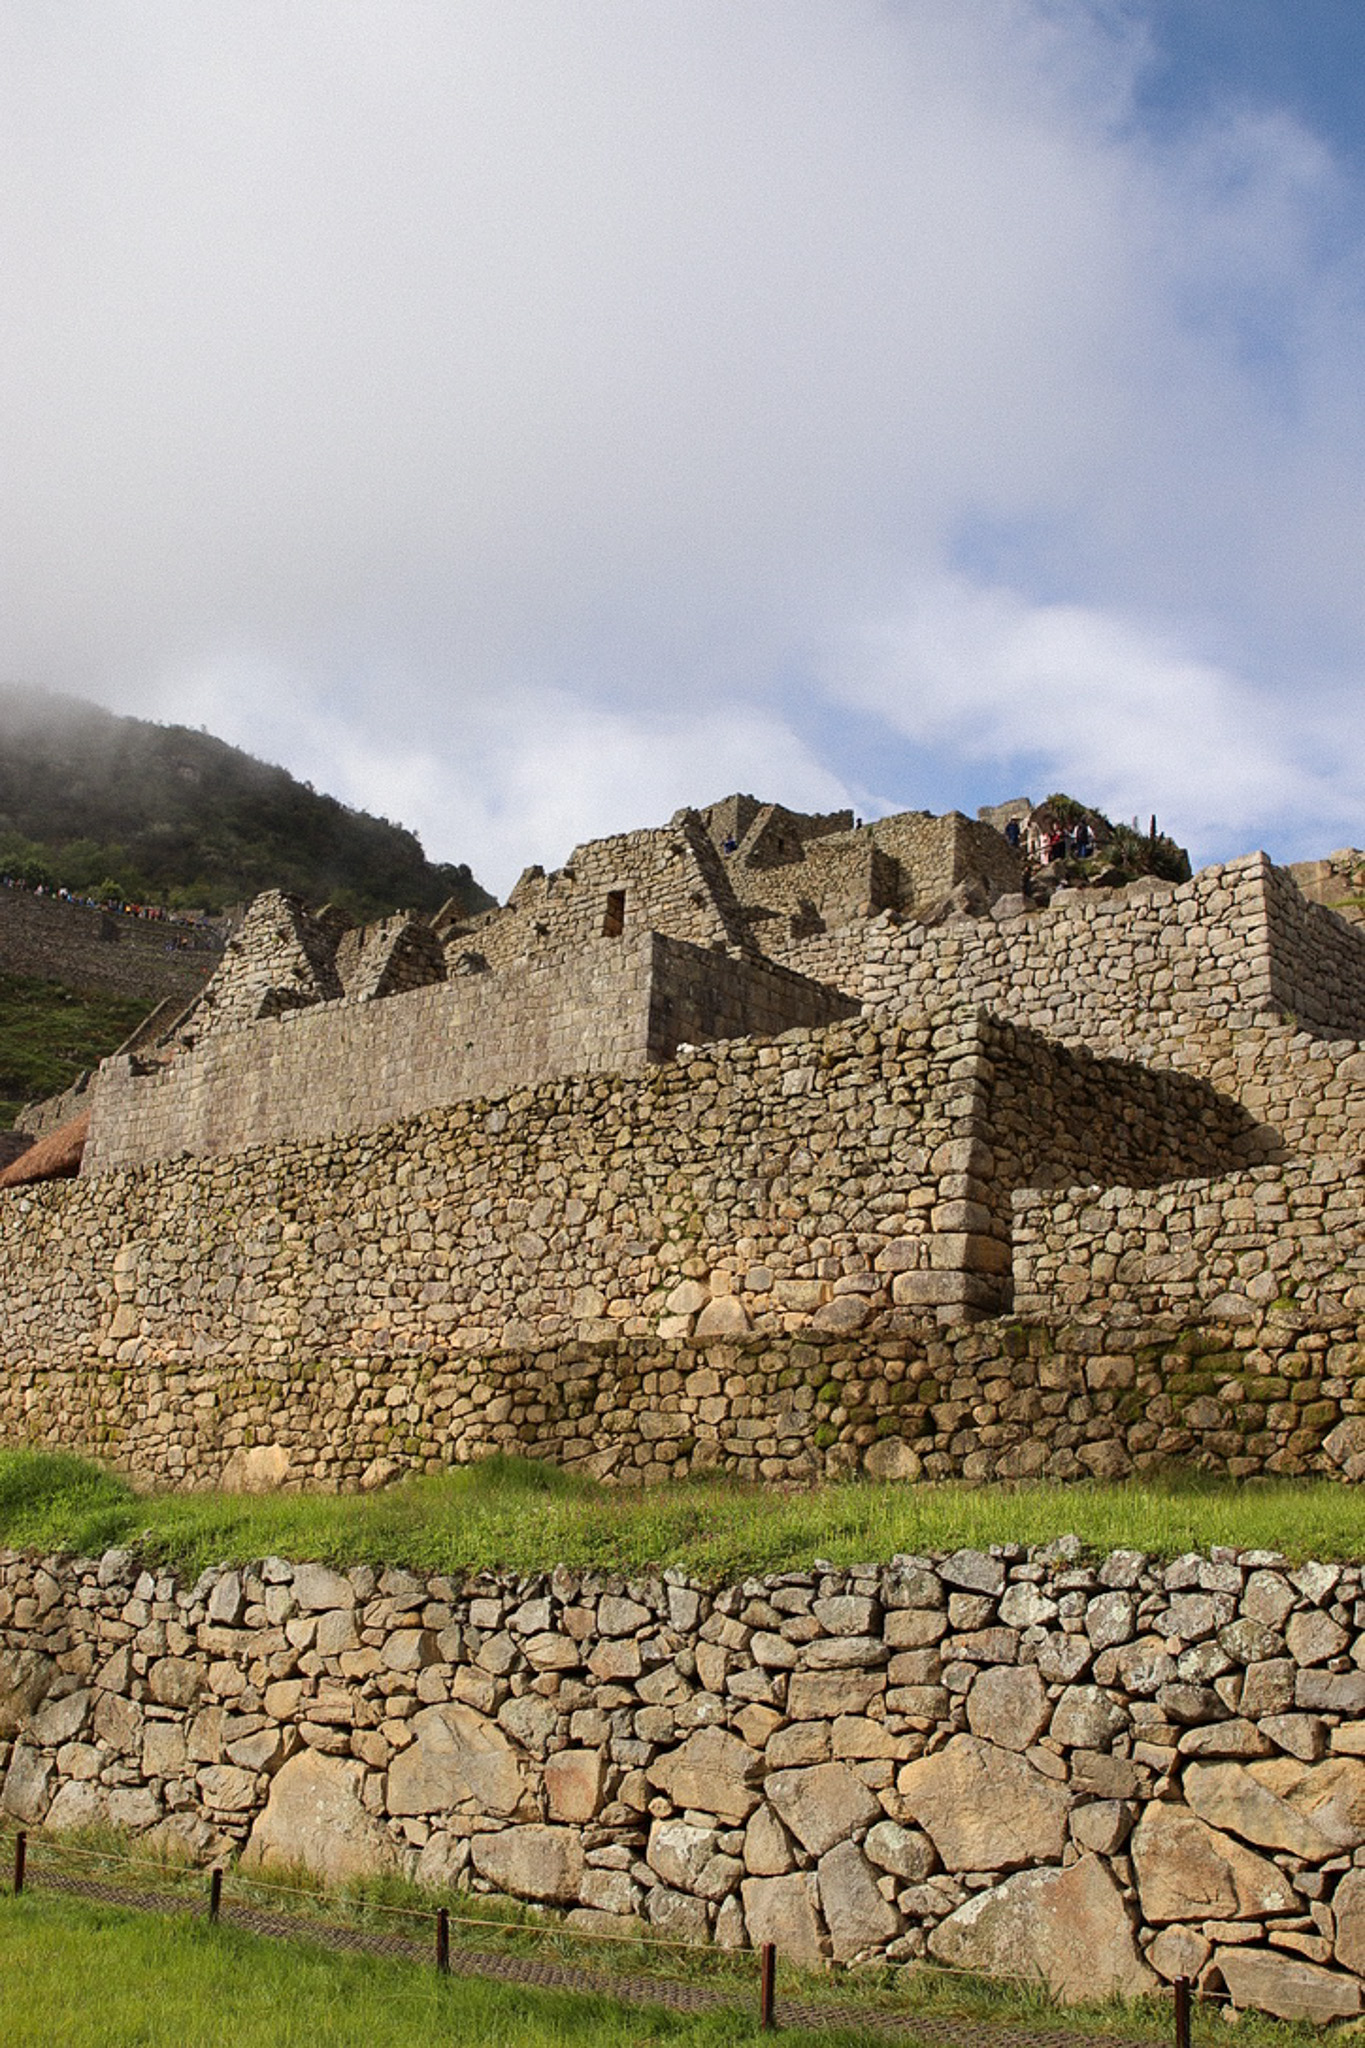
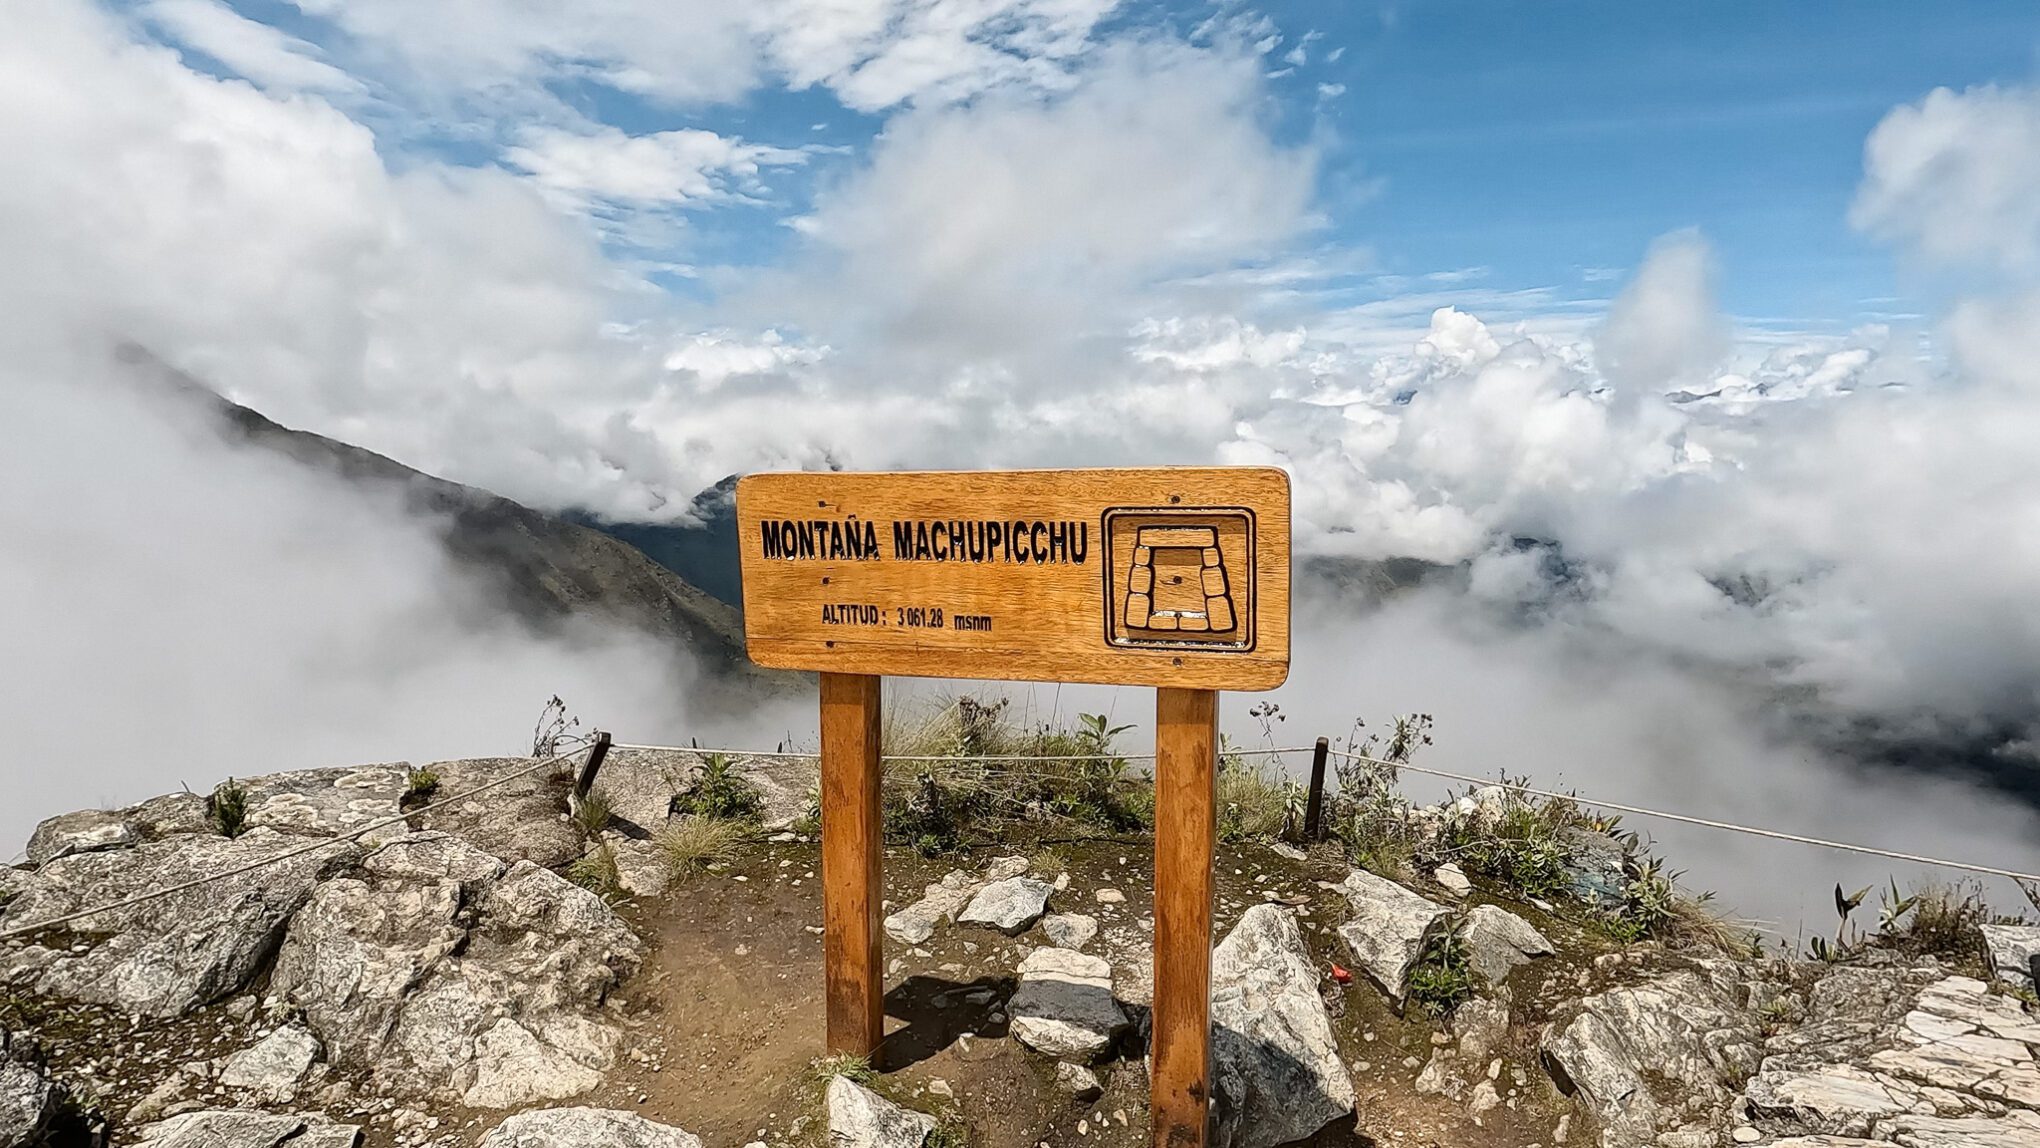
The final day! We woke up at 4 a.m. for breakfast before heading to Machu Picchu. Kelvyn decided to walk and then take the 1,500 steps up (about 1 hour total), while I (Thais) took the shuttle bus to the entrance for a small additional cost. Once inside, we joined a 1.5- to 2-hour guided tour, which was part of our trek package. After the tour, we could continue exploring, but since we had booked tickets to hike up Machu Picchu Mountain, we had to leave the circuit early. The climb was steep and exhausting, but the views from the top were breathtaking, and had a peaceful spot to relax before heading back down. Afterward, we took a few more photos, then returned to Aguas Calientes and officially celebrated the end of the most incredible, once in a lifetime journey.
The 5D 4N tour is officially over after Machu Picchu, and most people take a train or shuttle bus back to Cusco the same day. We decided to stay one extra day and explore Aguas Calientes.
>>Want to know what are some of our must visit countries?? Click here!!<<
Our Favorite Parts of the Trek
- Stunning views: Possibly because we never hiked before and had no expectations, but we were rewarded each day with the beautiful scenery.
- Friendships: There is something special about the bond you create when doing something so unique and challenging with a group of people for the first time. We spent five days encouraging, pushing, laughing, and getting to know each other, resulting in lifelong friendships being made.
- The Challenge:
- Mental: We never thought about doing something like this and it was a big mental hurdle in such a short period of time. The night leading to the hike I (Thais) was very anxious, barely slept, and almost backed out. I calmed myself the night before with breathing techniques and positive mantras. I listened to podcast episodes that highlighted the importance of taking it one step at a time, and that is what I did the entire way!
- Physical: Though we are active travelers, we did not have any special training for the trek. Aside from visiting the Rainbow Mountains a few days prior, this was our first time hiking for more than a couple of hours and in such high altitude. Physically pushing through the tough moments and going up steep hills was incredibly rewarding.
Cost Breakdown
Our $280 USD ticket per person included five days and four nights of accommodation and food along with transportation from the Cusco center to the first hiking sight.
Here are additional costs to keep in mind:
- Hiking Sticks (Book directly with trekking company).
- Sleeping Bags (Book directly with trekking company).
- Park entrance (Low cost ticket paid to enter a section of the hike before arriving to breakfast on day 1).
- Horse ride on second day (Optional if you choose to ride a horse instead of hike up, must book on the night of day 1).
- Hidroelectrica train tickets to Aguas Calientes (You can book directly with trek company. Optional if you decide to not hike the last part of day 4).
- Machu Picchu Entrance Tickets. Click here to purchase online.
- Round trip bus to and from Machu Picchu from Aguas Calientes, tickets here (Optional, if you do not want to hike this part of day 5).
- Additional Purchases: Water, snacks, entrance to hot springs, and additional transportation.
*Specific prices are not provided as they fluctuate and are based on each company.
Best Season to do the Salkantay Trek
The dry season is the best time to do the trek to avoid rainy days and have a higher chance of clearer views of the mountains along the way. The best time to go is in April, May, September, or October. We visited in the second week of November because that was when we were in Cusco, and we did get a few rainy days along the way. Luckily, it wasn’t enough to ruin our trip and actually led to some awesome memories.
Keep in mind that traveling during peak seasons may affect how crowded both the trek and Machu Picchu is.
Getting to Machu Picchu from Aguas Calientes
Option 1: Hike early morning from hotel.
Option 2: Take the shuttle bus from city center to Machu Picchu entrance.
Where to book
There are multiple options for the Salkantay Trek ranging from three to five days. We selected the longest journey so we could visit the most places.
We booked using Machu Picchu Reservations. You can book online here!
Make sure to read all of the information provided on their website as well.
Other Companies to book with:
Get Your Guide
Salkantay trek
Alpaca expeditions
Similar Hiking trips:
Inca Trail
Additional information
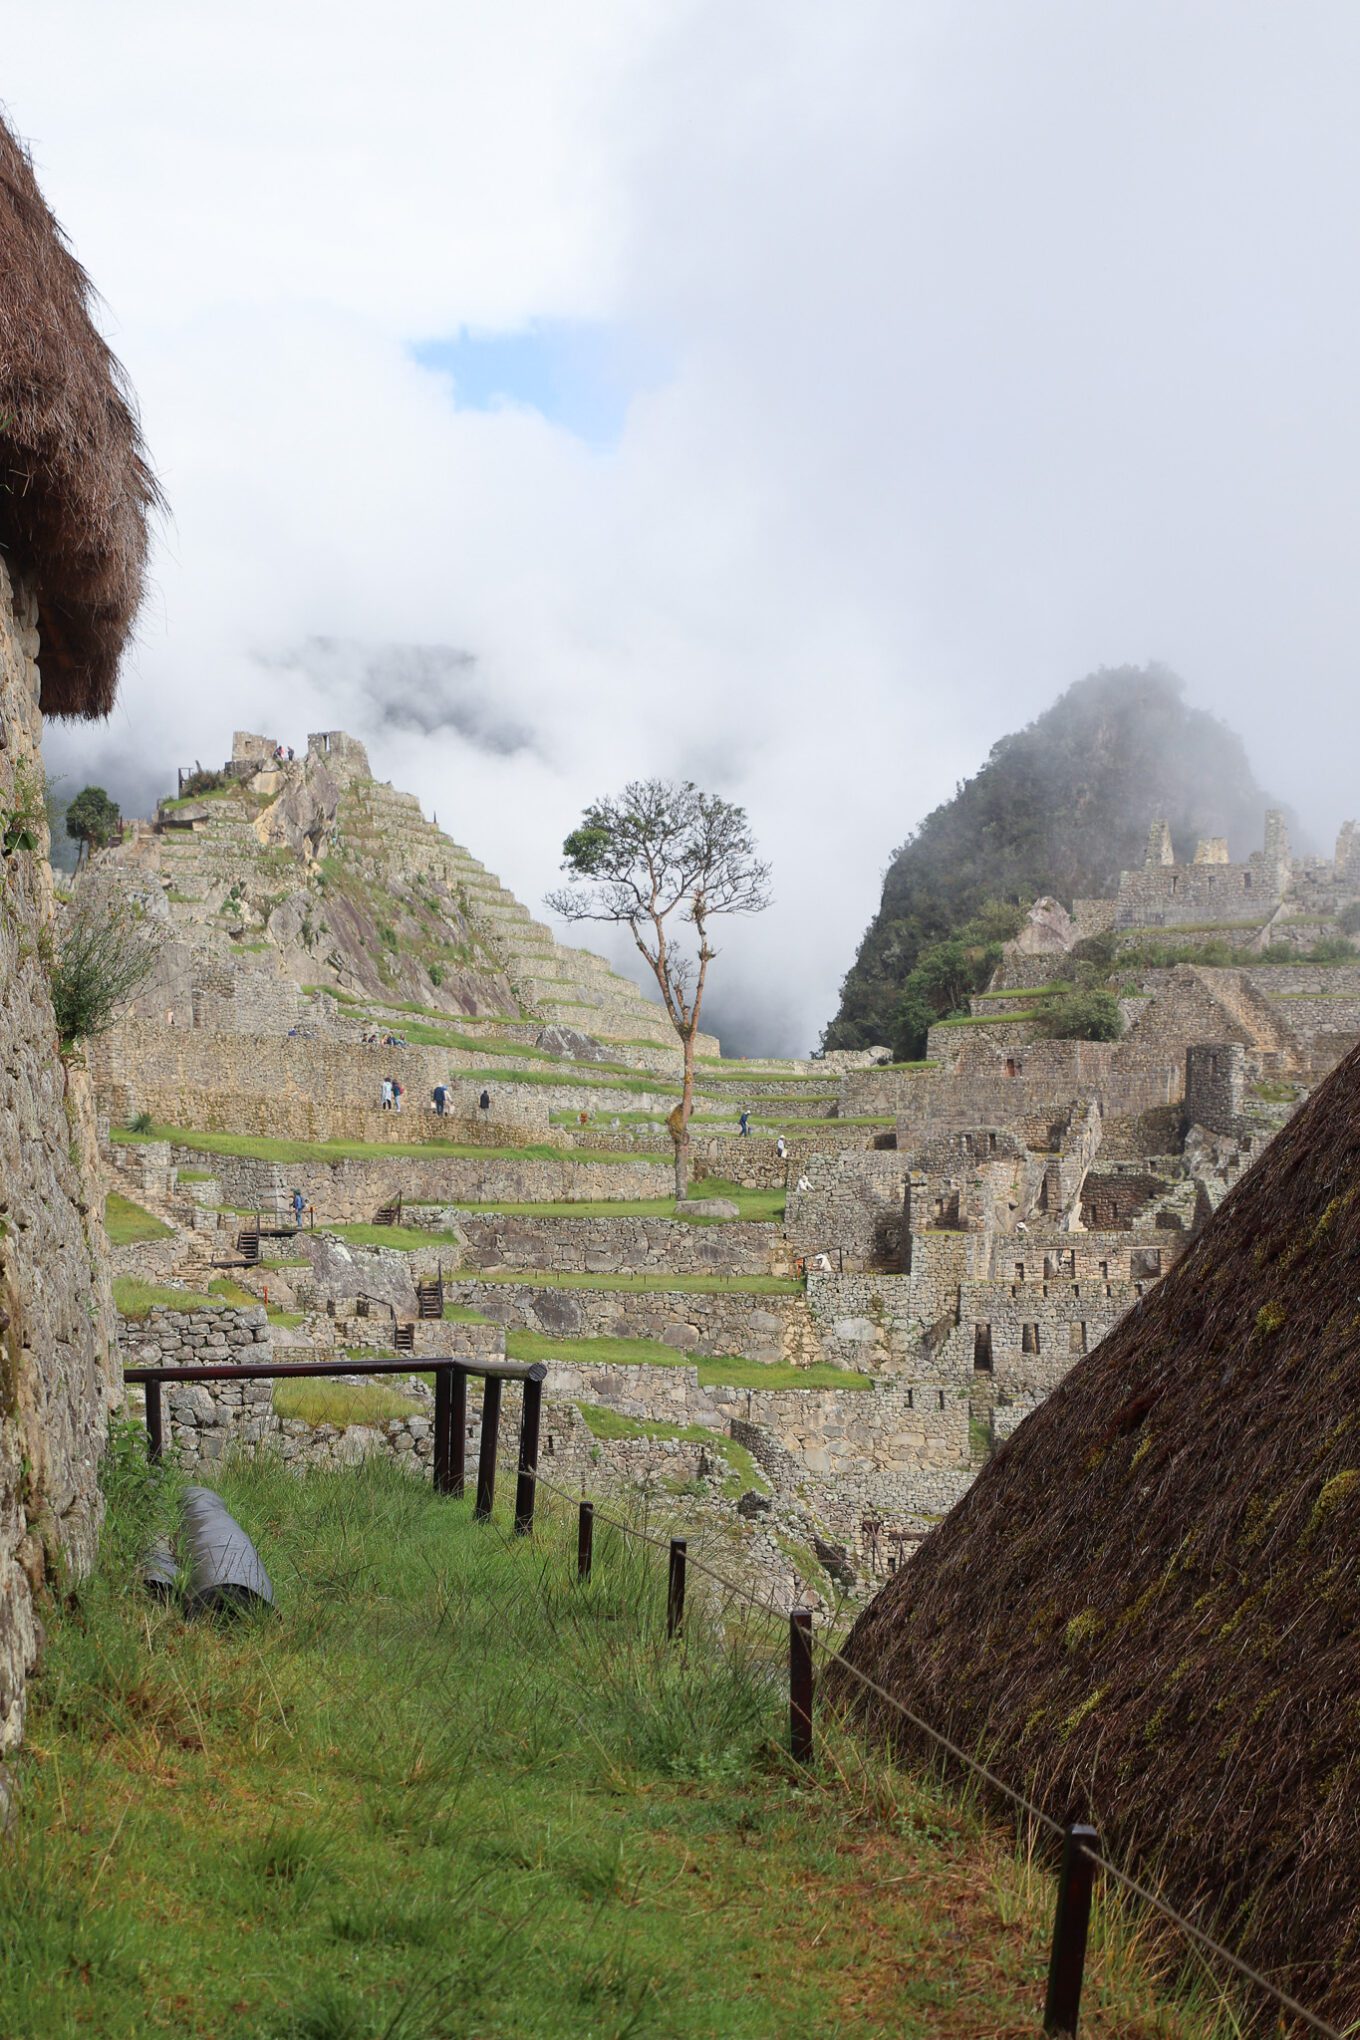
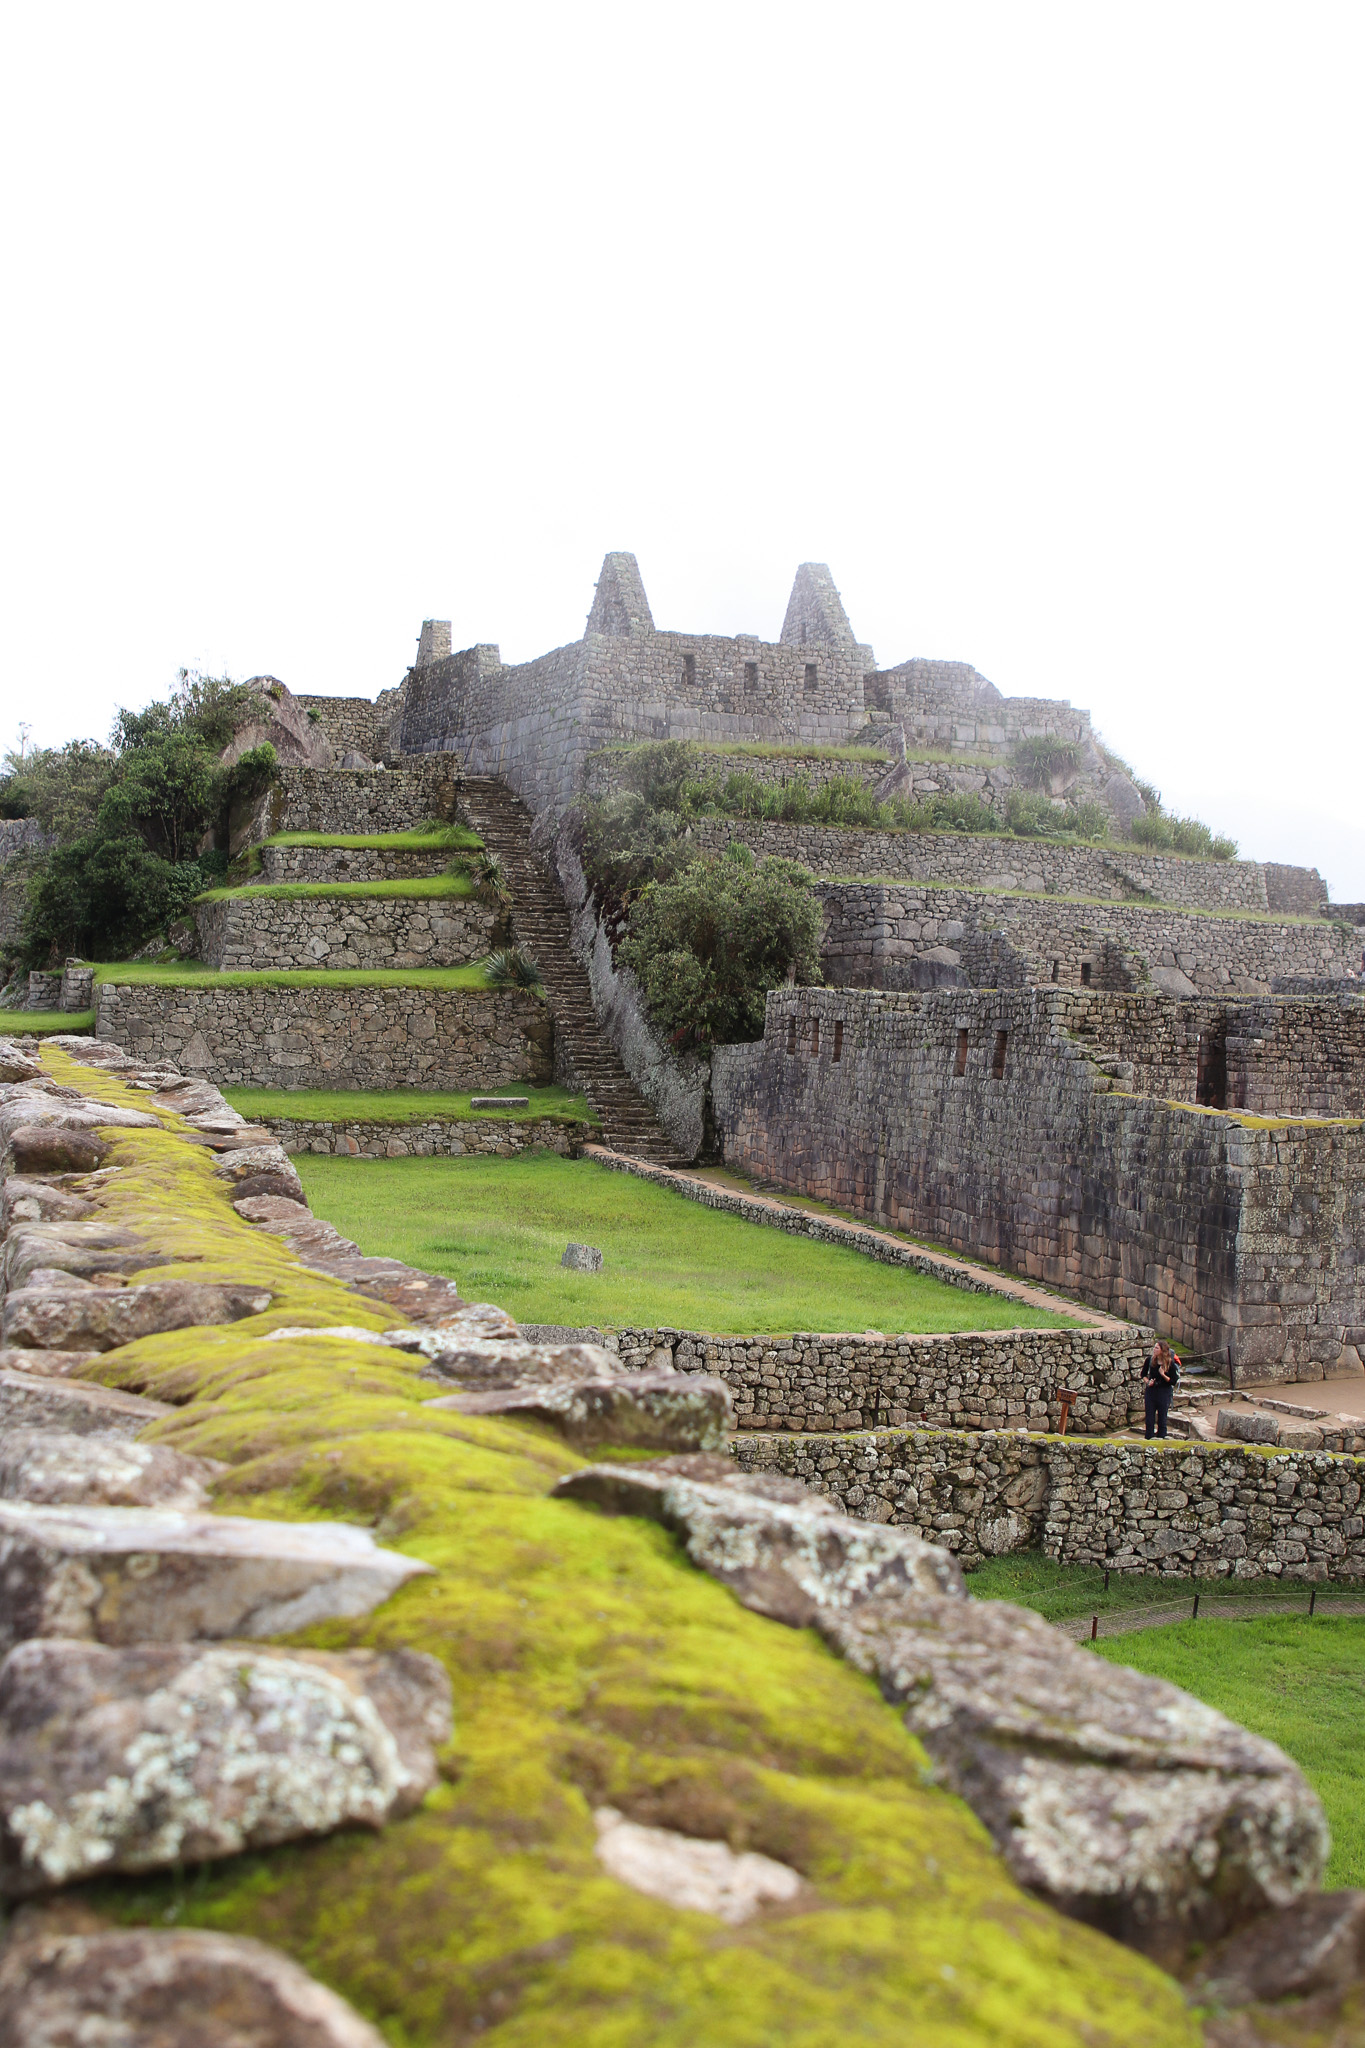
Machu Picchu is now divided into three circuits, each providing access to different parts of the ancient city. Additional options, such as hiking up Machu Picchu and Wayna Picchu, are also available as add-ons. Note that if you have tickets for only one circuit, you may not be able to enter other sections.
When we visited, there were four circuits. We did number three and added on the hike up to Machu Picchu. However, we felt that there were important parts we didn’t get to see due to the selected circuit. Look into this ahead of time, as certain circuits are more popular and sell out faster. Also, note that hikes have timed entry slots and may impact your time within your selected circuit.
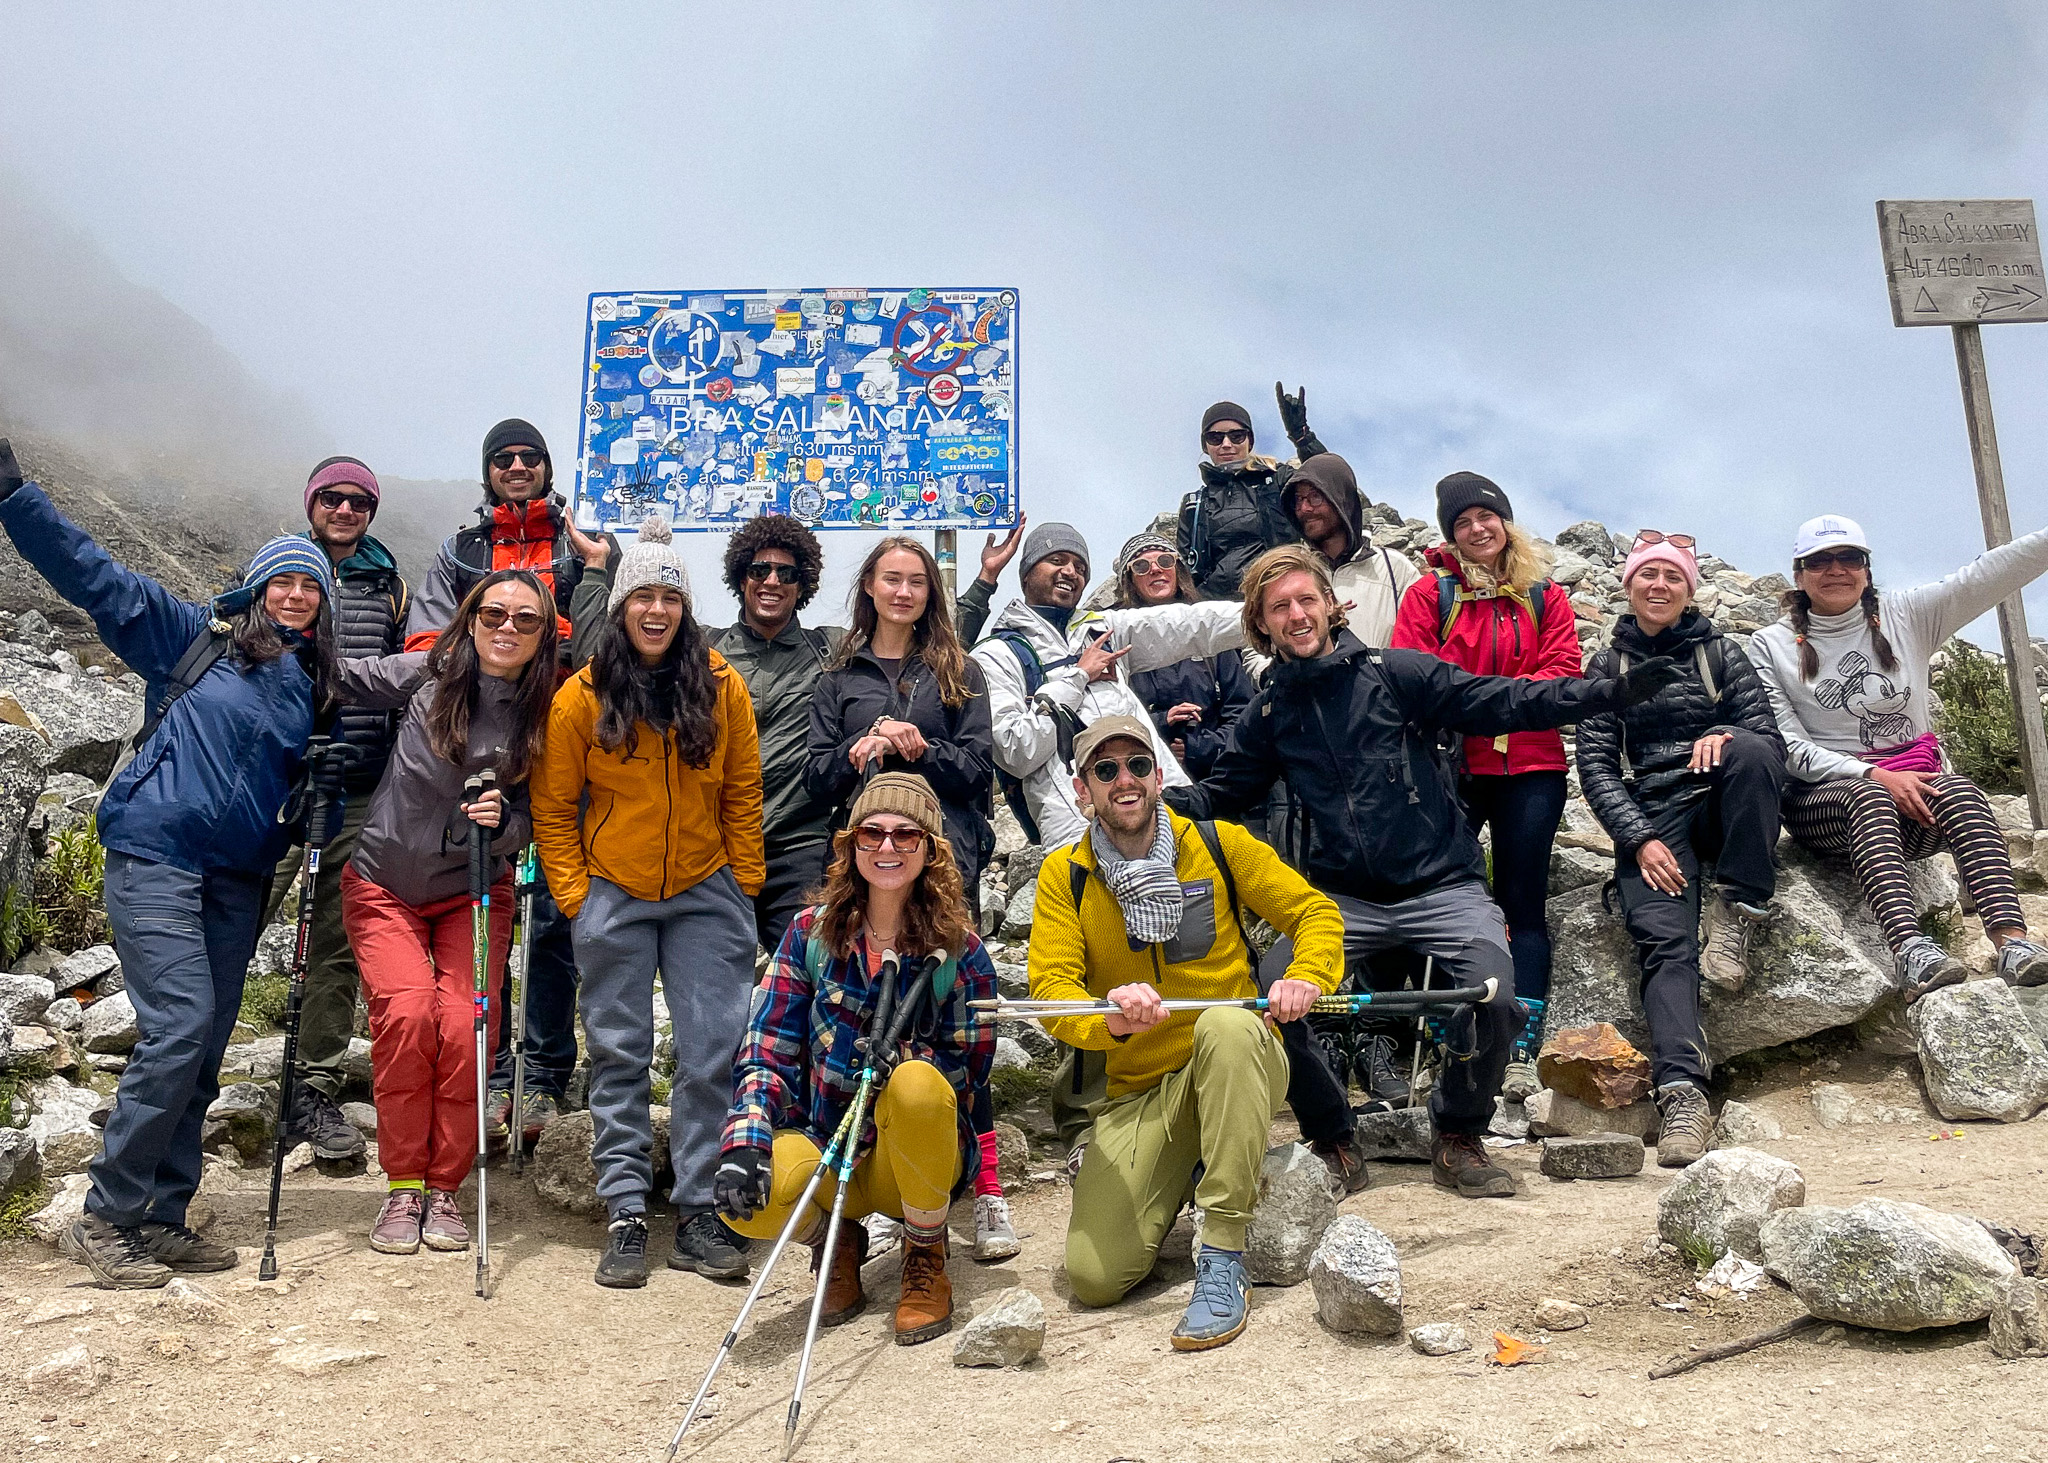
The Salkantay Trek is a challenging experience, especially for first timers – like we were. Making it an adventure you prepare for ahead of time, talking to people who have done it, listening to uplifting podcasts, and being surrounded by supportive people can transition this from a dream to reality. Know that it is okay to be nervous and scared, but don’t let that be what stops you. This was one of our favorite experiences and we highly recommend it to anyone considering it.
Did you find these tips helpful? Let us know if you are planning to hike the Salkantay Trek! And be sure to follow our journey on Instagram @THETRAVELERINUS
Disclaimer: All the information shared is based on our research and experiences. Please note that we are not travel consultants, tour guides, or financial advisors and are not held liable for any misinformation. We give suggestions, but advise each person to do their own research and make the decision that best suits them. This blog posts also contains affiliate links, by using the links we provide you are helping us at no additional cost to you. Photos on this page belong strictly to The Traveler In Us and are not allowed to be saved or used for any reason unless granted permission so by the owners.
